Windrose Guide: The Ultimate Damage Boost in Windrose
Boost Your Damage: The Complete Guide to Crafting Deadeye Grog in Windrose
Deadeye Grog is easily one of the strongest consumables in Windrose, yet I constantly see players walking right past the recipe for hours. We are talking about a flat 15 percent damage increase that lasts for 30 real time minutes. That is the exact kind of edge that turns a brutal boss encounter into a quick victory.
The catch? Brewing this stuff requires a specific workstation setup, a trip to a biome you might not have explored yet, and a crew member that most people recruit way too late. Let us fix that.
What Deadeye Grog Actually Does
Chugging a bottle of Deadeye Grog gives your character a flat 15 percent damage buff across the board for half an hour. The timer pauses if you log out, but if you die, the buff vanishes instantly. Always pop it after you respawn, not before you do something reckless.
Keep in mind that this only applies to your personal weapons. Your ship cannons and NPC crew members get absolutely nothing from it. It is strictly for boarding actions and on foot boss encounters. Speaking of tough fights, if you are struggling with some of the harder quests where this extra damage is mandatory, check out my Revenge Is Best Served Cold Walkthrough to see how preparation makes all the difference.
You can carry up to 10 bottles per inventory slot. It is incredibly space efficient, so always keep a full stack before starting a major expedition. Also, the game uses a highest value rule for buffs. The grog will overwrite any weaker food buffs you have active.
Building Your Alchemy Setup
You cannot brew potions on a campfire. You need an Alchemy Table, and setting it up has a hidden requirement that trips up almost everyone.
You can craft Clay Pots at a Kiln or find them in shipwrecks. Once you place the table, you must build a roof over it. Windrose literally checks for a roof collision tag. If your table is sitting outside in the rain, the craft button stays permanently greyed out. A basic 2×2 wooden shelter works perfectly. Once that is done, upgrade the table to Level 2.
The Recipe and Ingredient Locations
Here is exactly what you need to start brewing.
Coffee Beans are the main roadblock. You will not find them on the starter tropical islands. You have to sail out to the Foothills biome and hunt for small bushes with red berries. If you have the Piastres, you can just buy them from Brethren of the Coast provisioners. Madeira is mostly found by raiding large merchant ships or buying from high end vendors in Tortuga. Rum is practically everywhere.
Why You Need Rosalinda Mercer
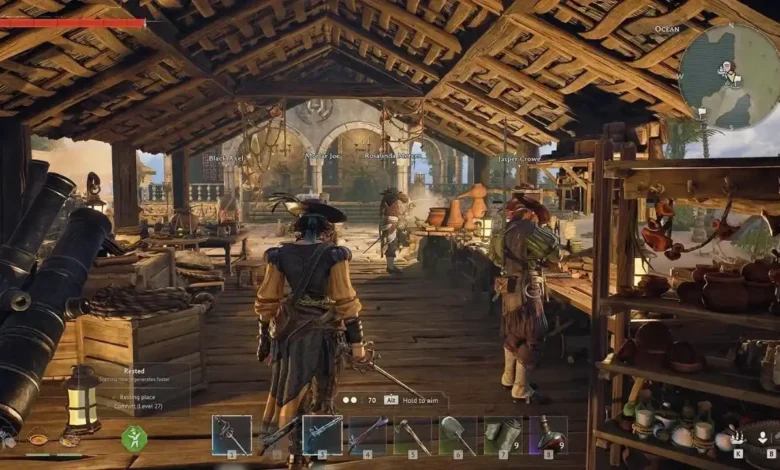
If you plan on brewing this grog regularly, you need to recruit Rosalinda Mercer from the Tortuga Market. She costs 500 Piastres, and she is worth every single coin.
She solves the container bottleneck by doubling your clay bottle production. More importantly, she gives you a 30 percent chance to brew an extra Deadeye Grog for free.
- Never craft one bottle at a time.
- Save up your ingredients.
- Craft a full stack of 10 all at once.
Because her bonus triggers independently on every single craft, running a large batch usually nets you two or three free grogs.
Can You Just Find It?
Technically, yes. High level bounties and elite captains in the Foothills occasionally drop a bottle. You might also get lucky and find one in a floating barrel. But relying on RNG is a terrible strategy when you need reliable buffs for end game content. Build the table, gather the materials, and control your own supply.
Looking to optimize your game or need help with another tough quest? Check out my other guides and get the upper hand.