Stop Sinking: The Ultimate Windrose Ship Gear Meta
Everything you need to know to upgrade your cannons, brace your hull, and build the ultimate endgame Frigate in Windrose.
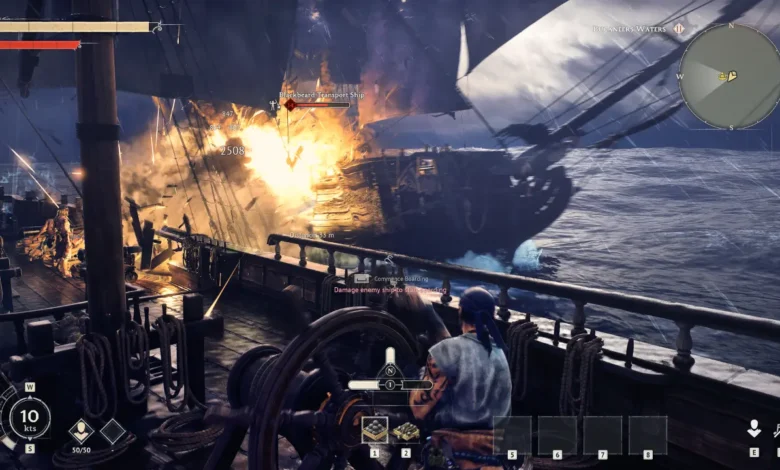
Sailing a Frigate into Blackbeard’s territory with stock cannons and zero armor is basically a guaranteed ticket to the bottom of the ocean. In Windrose, the ship you purchase is essentially just a blank wooden canvas. Your actual combat effectiveness relies entirely on the four gear slots you manage at your base’s Wharf. We are talking about Cannons, Hull Modification, Boarding Party Gear, and Naval Tactics.
Before you waste thousands of Piastre blindly buying blueprints from the Tortuga factions, you really need to understand that not all naval gear is created equal. Some upgrades will give you massive power spikes, while others are pretty useless. By the way, while you are out there ruling the seas, your crew is going to need real food. I highly recommend taking a quick detour to read my guide on how to actually catch fish in Windrose so your stamina doesn’t tank in the middle of a dogfight.
The Upgrade and Ascension Grind
You handle all of your ship equipment upgrades at the Shipwright’s Workshop. Every piece of gear, except for Naval Tactics, can be leveled all the way from one to fifteen to boost its base raw stats. There is a slight catch to this system. You cannot just upgrade an item while it is currently bolted to your galleon. You have to physically detach the gear from your ship using the Wharf menu and place it in your personal inventory before the Shipwright’s Workshop will even recognize it.
More importantly, you can Ascend your Cannons and Hull Modifications from Rare to Epic rarity using Tumbaga Ingots. This is crucial because ascending a piece of gear unlocks a powerful secondary passive ability.
Best Cannons: The Artillery Meta
Cannons are broken down by their weight classes. You have 12-Pounders, 24-Pounders, and massive 36-Pounders. The rule here is simple. The heavier the cannon, the higher the base damage, but the slower the reload speed. Always equip the absolute heaviest cannon your specific ship variant can support. Beyond the weight class, the Rogue Buccaneers faction sells three distinct blueprint variants that change your cannon’s passive abilities.
| Cannon Variant | Rare Ability (Base) | Epic Ability (Ascended) |
| Perfectly Ordered | Hitting an enemy within 4s of reloading boosts reload speed by 30% for 22s. | Aiming speed is increased by 30%. |
| Devastating | Hitting a target with >50% of a volley applies “Raked” (Target takes 10% more damage, stacks 3x). | Reload speed is permanently increased by 15%. |
| Tempered | Waiting 6s after reloading boosts your next volley’s damage by 40%. | Hitting a weak spot deals 20% bonus damage. |
My Verdict on Cannons
If you are sailing a smaller ship with only one cannon slot, like the Ketch or the Brigantine, the Perfectly Ordered cannons are undeniably your best choice. Landing a shot within four seconds of reloading is incredibly easy. This means you essentially have a permanent thirty percent reload speed buff during any fight.
However, once you graduate to the endgame Frigate and unlock dual cannon slots, you need to switch to the Devastating variant immediately. The Epic reload speed buff perfectly synergizes with the “Raked” debuff. You will be able to quickly stack that thirty percent damage vulnerability onto enemy vessels and absolutely melt them.
Best Hull Modifications: The Armor Meta
Hull modifications dictate your ship’s physical defense and overall sustain in a fight. You purchase these blueprints exclusively from the Smugglers of Port Royal.
| Cannon Variant | Rare Ability (Base) | Epic Ability (Ascended) |
| Keelhold | Taking damage no longer reduces your active Repair Kit duration. | Repair Kit overall duration is increased by 30%. |
| Iron Resolve | As Ship Health drops, Damage Resistance increases (up to 25%). | Repair Kit effectiveness is increased by 30%. |
| Standfast | Grants 5 stacks. Taking damage consumes 1 stack to reduce incoming damage by 25% for 3s. | Provides 3 additional stacks of the Standfast effect. |
My Verdict on Hulls
Keelhold Bracing is without a doubt the absolute best modification in the game. In standard combat, getting hit by a cannonball instantly interrupts and degrades the healing effect of your Combat Repair Kits. The Keelhold bracing completely removes this massive penalty. When you upgrade it to Epic, it extends your total healing duration by thirty percent. This makes your ship nearly unsinkable during prolonged naval engagements.
Best Naval Tactics: The Passive Buffs
Naval Tactics are completely unique from the rest of your gear. They cost five hundred Piastre from the Smugglers of Port Royal, but they cannot be upgraded or Ascended at all. They just slot into your ship and provide a permanent passive buff.
| Tactic Book | Passive Effect |
| Stretch The Supply | Increases Repair Kit duration by 30% and Grog buff duration by 200%. |
| Silence The Guns | Hitting an enemy reduces their Reload Speed and Damage by 20% for 30s. |
| Ambush | If you deal no damage and take no damage for 2 minutes, your next volley deals 130% more damage. |
| No Quarter | Destroying an enemy ship within 50 meters restores 30% Ship Health over 10 seconds. |
| Shipshape | While out of combat, restores 3% Ship Health every 3 seconds. |
My Verdict on Tactics
You absolutely want Stretch The Supply. When you pair this tactic with the Epic Keelhold hull bracing, your Combat Repair Kits will last for an obscenely long time. Furthermore, the two hundred percent duration increase to Grog means the specialized combat drinks you brew at your alchemy table will persist through multiple different naval encounters. If you prefer a more aggressive approach, Silence The Guns is a great alternative because it essentially cripples enemy damage output the moment you land your first broadside. Just completely ignore Shipshape, it is terrible.
A Quick Note on Boarding Party Gear
The final slot is your Boarding Party Gear, and it is a bit of an oddity. You craft it at Uncommon rarity, and you actually cannot Ascend it to Epic. However, you can still dump resources into it at the Shipwright’s Workshop to push it all the way up to Level 15. Doing this massively inflates the attack damage and survivability of your AI crewmates when you finally grapple an enemy vessel.
Lock in this loadout, stockpile those Tumbaga Ingots, and get ready to monopolize the archipelago.