Subnautica 2 Guide: Essential Beginner Tips and Tricks
Stop Drowning and Start Thriving: Your First Hours on Proteus Explained

Quick Answer: The key to surviving your first few hours on Proteus is prioritizing the Scanner and an Air Tank. Focus on finding Silver for an immediate tank upgrade, use Water Slugs for easy hydration, and follow NOA missions to unlock the Digestion Adaptation so you can finally eat the local wildlife.
Proteus is a stunning planet, but it doesn’t want you there. Between the dwindling oxygen and the fact that almost everything you try to eat will make you sick, the first few hours of Subnautica 2 Early Access can be a real struggle. You aren’t just exploring; you are fighting an uphill battle against biology and physics.
If you want to stop staring at the “Emergency Oxygen” warning and actually start building a home, you need to play smart. Here is how to master the early game without losing your mind.
Oxygen Management: Stay Alive Longer
In the beginning, your dive time is pitiful. You’ll spend more time swimming to the surface than actually exploring the seabed.
- Prioritize Silver: You need Silver to craft the Standard Air Tank. It’s a bit rare in the starting shallows, but it grants a massive +30 oxygen boost. It is the single most important upgrade you can make in the first hour.
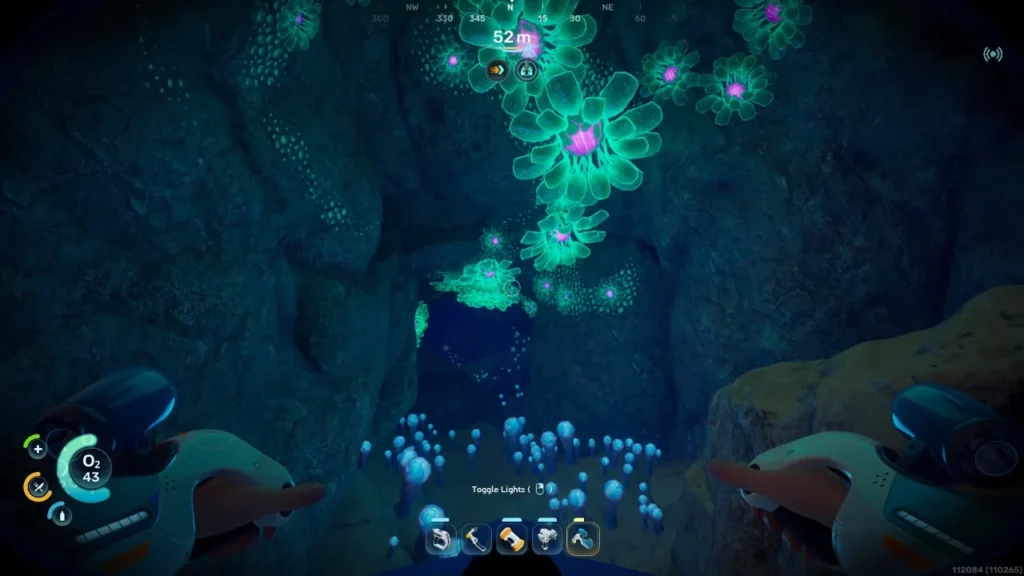
- Abuse Oxygen Tunics: Look for blue, glowing plants that spit out bubbles. These are Oxygen Tunics. If you swim into those bubbles, your tank refills instantly. This allows you to stay deep without having to breach for air.
- The Air Bladder Is Your Panic Button: Craft this as soon as you have Titanium and Lucifer Rotsac. It provides a quick 20-oxygen refill and zips you to the surface in an emergency.
Solving the Hunger and Thirst Puzzle
Water is surprisingly easy to find, but food is a different story. You start the game with “Digestive Incompatibility,” meaning your stomach literally cannot handle the local fish.
- Water Slugs Are Everything: You’ll see translucent blue slugs all over the floor. Grab them. You can turn them into clean water at your Lifepod. They are the most reliable hydration source in the early game.
- Unlock Digestion Fast: You need the Digestion Adaptation to eat native creatures. Follow the signal to the early-game black box; it will lead you to an Angel Comb plant. Once you interact with that, you can finally start cooking the fish you catch.
- Raid Your Storage: Your Lifepod starts with a few Nutrient Blocks. Don’t waste them immediately. Save them for long expeditions until you have unlocked the ability to eat the local fauna.
Essential Early Game Tools
You aren’t going anywhere without the right kit. While the game gives you some basic blueprints, others require a bit of scavenger hunting.
| Tool | How to Unlock | Primary Use |
| Scanner | Basic Blueprint | Unlocking blueprints and gathering materials from duplicates. |
| Survival Multitool | Basic Blueprint | Harvesting Fibrous Pulp to make Fiber. |
| Flashlight | Scan 2 broken units | Essential for cave exploration and night diving. |
| Sonic Resonator | Mid-game Blueprint | Breaking through Bloom Biofilm and harvesting large nodes. |
As you begin to push further into the unknown, you’ll eventually encounter environmental walls that your gear can’t handle yet. For instance, if you find yourself taking damage just by being in a certain area, you’ll need specific upgrades. Read our guide on how to cure heat intolerance here to prepare for the hotter biomes.
The Scanner Is Your Progression Key
In Subnautica 2, your Scanner is more important than your flippers. Almost every piece of advanced tech is locked behind “fragments” or environmental scans.
- Scan Everything Once: Flora, rocks, furniture, and even the hostile fish that’s trying to bite you. If it glows green in the scanner viewfinder, scan it.
- The Multi-Scan Rule: Most big blueprints, like vehicles or base rooms, require two or three scans of the same object before the recipe unlocks.
- Resource Farming: If you scan something you’ve already unlocked, the game rewards you with raw materials. It’s a great way to top off your inventory while you are out hunting for new tech.
Inventory and Base Building
You start with a measly 20 slots, which fills up faster than you’d think. Managing your pockets is a full-time job until you get your first base running.
Inventory Expansion
Don’t just leave resources on the ground. Look for Portable Lockers in wrecks; they give you 15 extra slots and can be dragged back to your pod. For a permanent fix, search for Colonist Bunkers. Inside, you’ll find Biobeds. Interacting with these permanently increases your character’s inventory capacity.
Build Your Base Early
The Lifepod’s Fabricator is “limited.” It can’t make everything. As soon as you have the Habitat Builder, put down a basic room and a powered Fabricator. This version has no restrictions. You should also prioritize a Scanner Station. It allows you to “ping” specific resources like Silver or Lead, turning a frustrating search into a quick errand.
Following the NOA Missions
Your Lifepod’s NOA (National Oceanographic Authority) terminal isn’t just flavor text. It will occasionally give you waypoints to Black Boxes.
These Black Boxes are essentially the story’s breadcrumbs. They almost always sit next to vital blueprints, new mechanics, or the “Adaptations” (like the Digestion upgrade) that you need to survive. If the NOA pings you, make that your next destination.
Proteus is a massive world, and while it’s tempting to rush, the game rewards those who move slowly. Peek into every wreck, check every cave for glowing lights (which usually lead to Biobeds), and always keep a spare battery on you. Good luck out there, Diver.