MOUSE P.I. For Hire: Surviving The Vanishing Act
The complete walkthrough for The Vanishing Act. Find every clue, schematic, and hidden collectible in Jack Pepper's first real case.
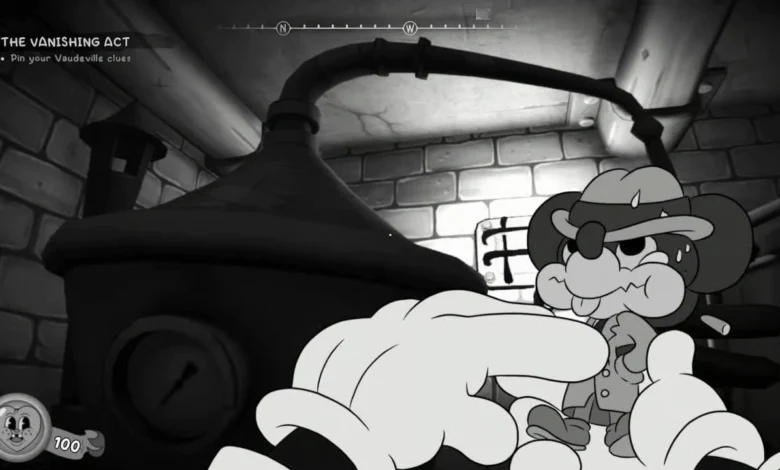
The Vanishing Act is where Mouse P.I. For Hire actually takes off the training wheels. Jack gets a call from reporter Wanda Fuller. A magician named Steve Bandel vanished during his own show, and things are looking incredibly sketchy. You will be exploring a locked down theater, sketchy apartments, and a subway filled with goons. Let us break down exactly how to clear it, find every schematic, and grab all the missable collectibles.
Sneaking Into The Crime Scene
The cops have the theater locked down tight. Luckily, Wanda hands you her own photograph. Walk up to the officer blocking the backstage door, flash the picture, and he completely falls for it.
Before you sprint straight to the main stage, look at the locker on the right side of the hallway. You will find Newspaper 1 sitting right there. It is super easy to walk right past it on your first playthrough.
Raiding Bandel’s Greenroom
Skip the locked greenroom door for now and take the open door on your left. You will see an open vent. Crawl through it to reach the main stage.
Climb the ladder next to the massive water tank and drop inside. Grab the floating Greenroom Key, then hit the nearby switches to unlock the stage doors. Head back to the greenroom. You absolutely need to grab two clues here before leaving:
- Open the vanity table drawer to snag the address book.
- Take a photograph of the giant Steve Bandel poster on the wall.
If you leave without both, the game will force you to backtrack later when you reach the Crime Wall. Save yourself the headache.
Street Fights and Hidden Cards
Leave the theater, crawl under the police tape, and save at the typewriter. Two guys with bats will rush you in the next room. Clear them out and head upstairs. Grab the Charlie Pepper Baseball Card off the table before walking through the door.
Follow your dust prints outside. Enemies will swarm you from two different garages. Both garages are packed with ammo and Heal D bottles. Make sure you check the north garage for a safe you can tailpick for some extra cash.
By the way, if you are still trying to make sense of the opening chase from the previous chapter, check out my full guide on surviving Big Mouse Little Hope right here.
The Apartment and The Loft Key
Head into the apartment building. On the very first landing, kick out the window and walk onto the outside ledge. This takes you to a blocked off room containing the Joel Blunt Baseball Card and an open safe full of money.
Keep climbing until you find a locked Loft door and a blocked door. Kick the box out of the way to enter the bathroom. The Loft Key is right on the table, but another box is blocking the door. Shoot the box, grab the key, and then shoot the explosive barrel. This blows open a totally normal wall and gives you a shortcut right back to the locked loft.
Go inside the loft, crouch under the boards, and grab the Schematic off the desk.
Subway Ambush
Walk down the alley outside. You can drop an anvil on a goon by shooting the rope above him, which never gets old. Use the explosive barrels to clear the rest. Check the ladder on the east side to find some hidden cash near an outhouse.
Before you walk down the subway steps, look for a bench on the south side of the street. Comic 4 is just sitting there waiting for you.
Inside the subway, sneak under the steaming pipes in the Staff Only area to find a hidden cash stash. Save your game in the next room and grab the second Schematic off the table. Keep your eyes peeled for another explosive barrel next to a fake wall. Blowing it up reveals a hidden room with six enemies inside.
The hardest part of this level is a massive wave of enemies pouring out of a subway train. Before triggering it, look in the previous room for a chest plate that gives you 40 armor. You will definitely need it.
After the fight, check the north bathroom. A janitor named Mike Maple is hanging out in there, and the third Schematic is sitting on the table behind him.
| Schematic Location | Area | Requirements |
| Loft Secret Room | Apartment Building | Needs the Loft Key from the bathroom |
| Subway Workbench | Subway Staff Area | Sitting on the table near the typewriter |
| Bathroom Table | Subway North Bathroom | Found right behind Mike Maple the janitor |
Meeting Betty Deux Fiddle
Head upstairs to the assistant’s apartment building. Grab the cash behind the trash cans outside. Go up two flights of stairs, break the east window, and walk out onto the ledge for more money.
Head back inside and take the south door to meet Betty. She looks a little physically detached, which is weird, but she gives you your next major leads: the Opera House and the Big Mouse Party politicians.
Before you walk out of her apartment, look at the kitchen counter behind the typewriter. Pick up Newspaper 2. If you leave without it, you can never come back for it.
Piecing It Together
Fight your way back to your car and travel to the hub area. Stop by the ammo shop to buy Comic 2 if you missed it earlier.
Go to your P.I. Office, head upstairs, and interact with the Crime Wall. Jack automatically pins the clues together, pointing you straight to the Opera House. Finish up by talking to Wanda and the bartender at the Little and Big Bar.
Finally, pick the lock on the door in the bar’s kitchen. Walk down into the basement and check behind the curtain in the corner. You will find your very first secret Jack Pepper collectible figure.
If you are hunting for more tips or just want to breeze through your backlog, check out my full collection of gaming guides right here. Need more help surviving Mouseburg? Check out our The Ultimate Mouse P.I. Beginner’s Guide for a complete breakdown of weapons, missions, and farming routes.