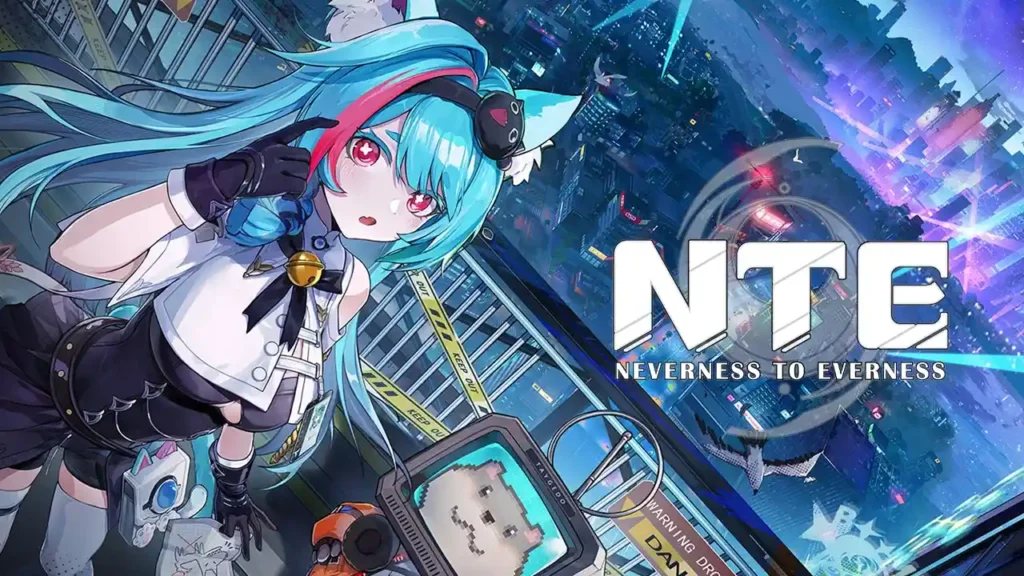
Neverness to Everness Guide: Ultimate Arcs Tier List
The Complete Ranking of Every Arc from Best to Worst

Quick Answer: Focus your upgrade materials on S-tier Arcs like “Blow up the Crowd” and “Ready-Ready.” They deliver massive, unconditional damage and survivability across all content. Lower-tier Arcs require specific team compositions or elemental cycles, making them far less reliable for general play.
Why Your Arc Choice Matters
Arcs are the lifeblood of your characters’ damage output in Neverness to Everness. With over 30 options in the launch pool, guessing isn’t going to cut it. You need to know exactly what works and what belongs in the trash.
Top-tier Arcs deliver massive damage boosts and game-changing utility. Lower-tier options hand out basic, single-stat bumps. The absolute biggest factor when grading any Arc is versatility. Does it work everywhere, or do you have to jump through hoops just to activate its effect?
We built this ranking on two strict principles:
- Unconditional Power: Arcs that boost raw attack damage without needing specific Element cycles score the highest because they fit into any team.
- Universal Utility: Effects that trigger effortlessly, like party-wide buffs or universal debuffs against both mobs and bosses, easily beat out niche activation requirements.
The Complete NTE Arcs Tier List
Here is the breakdown of every Arc currently available in the game, ranked from best to worst so you can stop guessing and start equipping.
| Tier | Arcs |
| S | Blow up the Crowd, Ready-Ready, Fluff of Ferocity, Your Happiness is Priceless, Marching Beyond Time, The Last Rose |
| A | Tears Beneath the Mask, Reality Refuge, The Rain That Shook the World, Eternal Waltz, Fluff of Fearlessness, Raging Flames, Song of the Whale, Stellar Veil, Youthful Fantasy, Fluff of Fleetness, Fluff of Finesse, Good Boy’s Grand Adventure |
| B | Hethereau’s Keeper, Contemplative Cat, Fluff of Fortitude, The Forgotten, Cosmos Daze Wild Reverie, Watch Your Heads!, Time Bandit, Day Off, The Fools’ Spring, Drawn Blade, Oraora!, Clear Skies |
| C | Camellia Society, Failing You Heavy in My Heart, The Good The Bad The Bitter, A Time Will Come, The Great Thief, Umbrella, Shiny Days, Mind Royale, “Real Music”, Be Happy, First Step to Success, Dangerous Game, Us |
S-Tier: The Absolute Best
These are the heavy hitters. S-tier Arcs give you the best mix of raw damage and utility without making you work for it. You drop them into your build, and they perform perfectly in any scenario.
Whether you are gearing up your main DPS or looking for the best survivability items, S-tier is your primary target. The power gap between S and A is incredibly noticeable.
A-Tier: Strong but Conditional
A-tier Arcs pack a punch, but they come with baggage. You have to meet specific elemental requirements or build very particular team compositions to unlock their full potential.
They are fantastic pieces of gear if your roster already fits their needs. For example, “Raging Flames” and “Song of the Whale” will absolutely shred enemies, provided your team naturally satisfies their activation conditions. If they do, these Arcs perform almost as well as the S-tier picks.
B-Tier: Situational Choices
This is where things get highly specific. B-tier Arcs demand deliberate team building and strict gameplay plans.
You should only equip picks like “Time Bandit” or “Hethereau’s Keeper” if your squad is custom-built around their quirks. They are perfectly workable, but throwing a B-tier Arc on your main damage dealer while ignoring its conditions is a complete waste of a slot. Treat them as temporary stopgaps.
C-Tier: Early Game Filler
Avoid C-tier Arcs whenever you can. They offer barebones utility, usually just basic attack or HP bumps, completely lacking the potent secondary effects found higher up the list.
If you are just starting out and have empty slots, a C-tier Arc is obviously better than nothing. Just don’t get attached. Rip them out and replace them the second you pull something better.
Smart Upgrade Priorities
Resources in NTE are painfully limited early on. You cannot afford to waste materials on gear you will outgrow in an afternoon.
Here is exactly how you should spend your upgrades to keep your account progressing smoothly:
- Always prioritize S-tier. Since they lack elemental conditions, every resource you dump into an S-tier Arc pays dividends across every team you make.
- Upgrade A-tier selectively. Only invest once your team composition is fully locked in and you know those conditional effects will trigger constantly.
- Ignore B and C tiers. Save your materials. Prioritize upgrading the best Arc you actually own, not a temporary filler piece you plan to abandon.
Ready to dominate the rest of the game? Browse more character builds and strategies in our other guides to keep your team fully optimized.
For a complete breakdown of Hethereau’s secrets, including character builds, boss strategies, and city life tips, check out our Ultimate Neverness to Everness Guide: Everything You Need to Know.