Voidling Bound Guide: The Ultimate Best Builds Tier List
From Overpowered Nimiod Turrets to Complex Ur-Sek Form Swaps, Find Your Perfect Strategy
Quick Answer: The undisputed best overall build in Voidling Bound centers on Nimiod, thanks to its oppressive turret setup, insane area damage, and high-burst Ultimate. However, the true best build depends on your playstyle. Beginners should start with Kwipeck for balanced ranged combat, while advanced players can dominate the battlefield with the form-swapping complexity of Ur-Sek.
Finding Your Perfect Playstyle
Voidling Bound features nine playable species, and each one possesses a drastically different combat identity. If you pick the wrong creature before understanding how its mechanics flow, you are going to get stomped.
The golden rule of build crafting here is simple. You must lean into what your species naturally wants to do. Trying to force a defensive creature into a hyper-aggressive melee role is a massive waste of resources. Pick your species first, understand its core loop, and then tailor your mutation paths to amplify those strengths.
To get you started, here is a quick cheat sheet on where each species excels.
| Build Archetype | Top Species | Tactical Focus |
| Best Overall | Nimiod | Deployable turrets, stamina recovery, massive AoE burst |
| Best Beginner | Kwipeck | Forgiving dash movement, balanced rockets, group-clearing Ultimate |
| Best Defensive | Kerapin | High shield uptime, trap mines, steady medium-range damage |
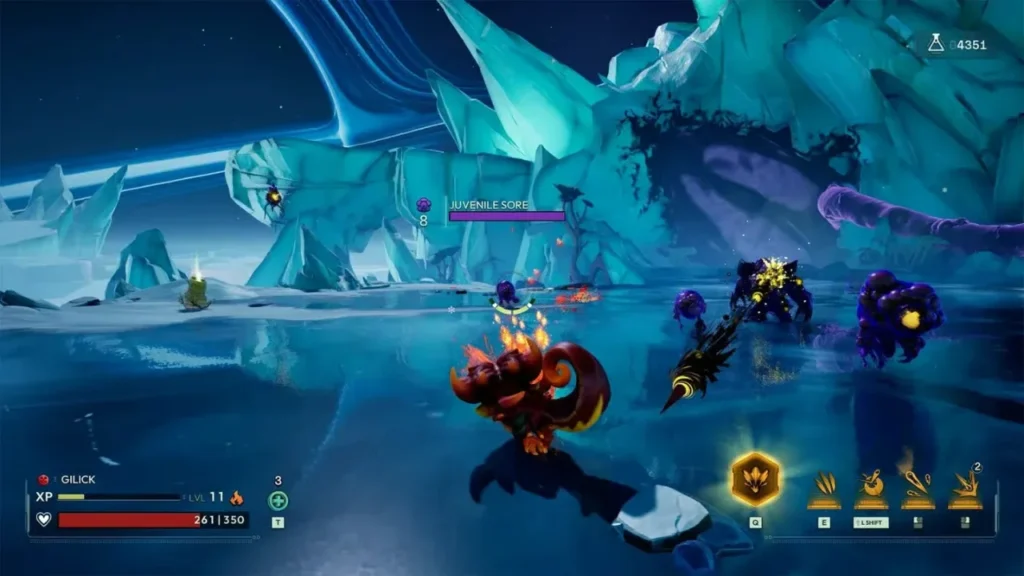
| Best Close-Range | Gilick | Shotgun bursts, gap-closing slams, counter-attack stance |
| Best Melee | Morfang | Relentless aggression, ambush pressure, pure melee uptime |
| Best Clone | Gwigoon | Minion deployment, duplicate pressure, battlefield chaos |
| Best Mobile | Anami | Homing projectiles, extreme evasion, elemental harassment |
| Best Advanced | Ur-Sek | Constant form-swapping, fast Ultimate charge, self-healing |
| Best Heavy | Packuran | Laser space control, wormhole manipulation, summoned hatchlings |
The Undisputed King: Nimiod Turret Setup
Nimiod holds the crown because its toolkit effortlessly handles multiple problems at once. You get area damage, safe teleportation, and stamina restoration just by staying near your deployed turrets.
The Ultimate ability is what truly breaks encounters. Popping it drops six turrets onto the field simultaneously, grants you temporary invulnerability while moving, and supercharges both your attack power and critical hit rate. The resulting damage output is staggering.
The catch? Nimiod has a bizarre reload mechanic. You cannot reload your weapons until you physically land on the ground, and both your jumps and attacks drain your stamina bar. You have to play smartly around your turrets to keep your resources topped up.
Core Priorities for Nimiod
- Turret Synergy: Upgrade everything that makes your turrets hit harder or restore more stamina. They are the engine of this build.
- Stamina Efficiency: You need enough gas in the tank to stay airborne and evasive during heavy firefights.
- Teleport Safety: Maximize your invulnerability windows to escape lethal pressure.
If you want to push this build to its absolute breaking point, you need the right genetic traits. Learn exactly where to hunt down the game’s rarest mutations in our Voidling Bound Guide: Every Mutated Voidling Unlocked.
The Best Starting Point: Kwipeck Balanced Setup
If juggling stamina flight and turret placements sounds exhausting, grab Kwipeck. This is the ultimate comfort pick.
You get a reliable SMG-style primary fire, a heavy-hitting rocket secondary for clustered enemies, and a highly forgiving dash to get you out of trouble. The Ultimate is a massive area-of-effect nuke that requires zero setup to wipe out swarms. You do not have to manage clones, swap forms, or carefully space your attacks. Just point, shoot, and dash. It is the absolute best way to learn the game’s combat rhythm before moving on to complex mechanics.
The Frontline Brawlers: Gilick and Morfang
Players who love getting right in the enemy’s face have two distinct flavors of aggression to choose from.
- Gilick (The Tactical Brawler): Think of Gilick as a shotgun specialist. You slam into the enemy to close the gap, unleash massive point-blank damage, and rely on a counter stance to absorb hits and punish anything standing nearby. It offers aggressive gameplay with a reliable safety net.
- Morfang (The Relentless Berserker): Morfang completely throws defense out the window. You get no shields and no safe spacing. Your entire goal is to ambush targets, stick to them like glue, and overwhelm them before they can fight back. It is highly rewarding but incredibly punishing if you mess up your engagements.
Masters of Space and Defense: Kerapin and Packuran
If you prefer to dictate the pace of the fight and let enemies come to you, look toward the heavier control setups.
- Kerapin (The Shield Wall): This build is all about surviving mistakes. Kerapin lets you attack while safely hidden behind a shield. You lock down the arena with explosive mines and rely on steady, medium-range shots to whittle down targets.
- Packuran (The Heavy Controller): Packuran is a massive entity that dominates the arena. Instead of chasing targets, you deny physical space using continuous laser beams, spawn miniature wormholes to disorient groups, and summon hatchlings to draw enemy fire.
High-Chaos and Mobility: Anami and Gwigoon
Sometimes the best defense is simply not being where the enemy is aiming.
- Anami (The Evasive Harasser): Small, lightning-fast, and deeply annoying for enemies to track. You rely entirely on extreme mobility and homing elemental attacks to chip away at health bars while dancing out of range.
- Gwigoon (The Minion Commander): Gwigoon thrives on visual clutter. You spawn duplicates to overwhelm the enemy AI, creating multiple targets for bosses to worry about while you safely deal damage from the perimeter.
The Ultimate Skill Check: Ur-Sek Form-Swap Setup
Do not touch Ur-Sek until you completely understand the game’s mechanics. It is the most technically demanding species in Voidling Bound.
The entire build revolves around actively swapping between two distinct forms: Ur, a heavy bruiser, and Sek, a rapid striker. Each form features entirely different ability patterns. Ur-Sek boasts the fastest Ultimate charge rate in the game, which is crucial because activating your Ultimate is what triggers the form swap and heals you. You have to constantly shift your playstyle mid-fight, riding the healing windows to survive the chaotic transitions.
Pick your favorite archetype, commit to its core identity, and stop trying to make a heavy tank play like a speedy sniper.