Yoshi and the Mysterious Book Guide: All Smiley Flower Locations
The Ultimate 100% Completion Checklist: Every Hidden Flower from Chapter 1 to the Post Game
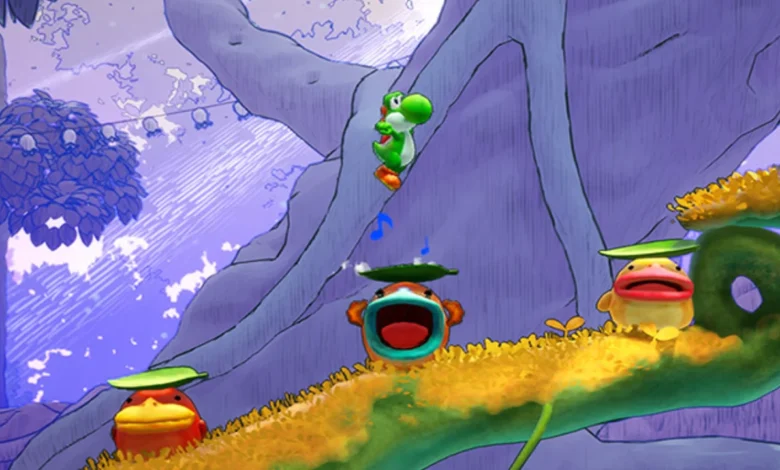
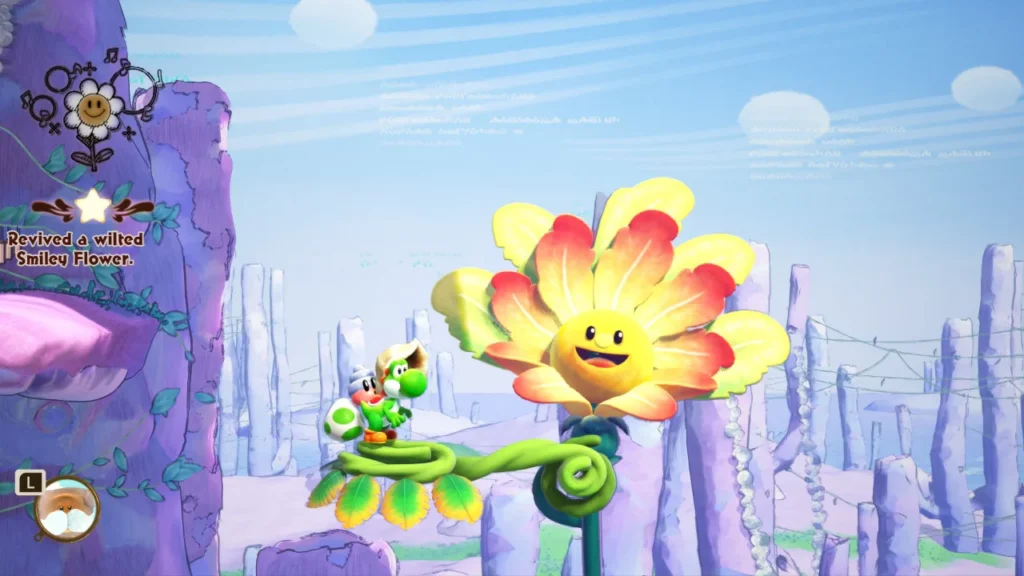
Quick Answer: There are exactly 260 Smiley Flowers scattered throughout Yoshi and the Mysterious Book. You can grab 146 of them during the main six chapters, but the final 114 are locked behind the post game content in Chapters 7 and 8. You need all of them to unlock every Exploration Tool and the ultimate completionist badge.
Tracking down all 260 Smiley Flowers is easily the biggest challenge this game throws at you. The in game book tracks how many you are missing per habitat, but it leaves you completely in the dark on how to actually reach them. If you are tired of wandering aimlessly, I have broken down exactly where to look.
Why Bother Collecting Them?
During your initial playthrough, these flowers mostly just sit in your inventory. Their true utility kicks in after you roll the credits.
Beating Chapter 6 unlocks Exploration Tools. These are incredibly handy screen overlays that highlight hidden creatures and collectibles. You unlock them in a rigid, predetermined order, and each tool costs five Smiley Flowers. Grabbing all 260 ultimately rewards you with the All Smiley Flowers Badge, a cosmetic flex to prove you fully mastered the game.
Here is how the collection breaks down across your playthrough:
| Game Phase | Flowers Available |
| Main Story (Chapters 1 to 6) | 146 |
| Post Game (Chapters 7 and 8) | 114 |
| Total Collectibles | 260 |
Chapter 1 Locations
Crazee Dayzee Habitat
- Walk down the grassy slope leaning left under the Arched Bush. The flower is tucked away at the far left wall of this secret tunnel.
- Run right along the hidden path underneath the Red Exclamation Switch. The flower is hovering right over a puddle of mud.
- Smash the Red Exclamation Switch with a Ground Pound. Climb the massive tree that sprouts, hop over to the right side platform, and use the smaller left ledges to Flutter Jump to your prize.
Bunchabee Habitat
- Blast the Winged Cloud with an egg to spawn a bridge of platforms. Walk to the longest one and snatch the flower from the swarm.
- Drop to the leaf platforms located beneath the tiny cave entrance to find the next flower guarded by bees.
- Starting from the Winged Cloud bridge, jump to the yellow platform and then swing across the vines from the upper orange ledge.
- Carry a Crazee Dayzee and crawl into the tiny cave in the upper right corner to trap the bees and take the flower.
- Head to the large platform positioned above the vine section. Blast the hives with eggs to scatter the swarm.
Scatterpuff Habitat
- Cover the right side statue completely in spores and smash it open with a Ground Pound.
- Coat the floating shrub situated over the sleeping creature in spores. Bounce off the resulting puffballs to reach the high ledge.
- Spore the edge of the pond to drain it. Roll the wooden ball through some spores to create a giant puffball, then roll it into the empty basin to smash open a secret room.
Croakaoke Habitat
- Float up to the high perch where the Red Croakaoke is hitting the Do note.
- This unlocks immediately after you trigger the Whimsical Waltz discovery event.
- This spawns right after completing the Little Lamb musical discovery.
- Look above the Red Croakaoke once you finish the Fallen Bridge tune discovery.
Glubbit Habitat
- Ride bubbles toward the upper right corner and grab the flower from the leaf platforms.
- Take a bubble straight up from the lily pad until you land on the massive rock pillar.
- Ride a bubble upward, shoot the Winged Cloud out of the sky with an egg, and Flutter Jump to grab the spawned flower.
- Coat a Glubbit in mud and have it drop heavy bubbles onto the leaf pile on the ground to expose a hidden cave.
- Take a bubble up to the giant platform and Flutter Jump over to the flower.
Chapter 2 Locations
Taggit Habitat
- Toss a Taggit at the flower sitting over the waterfall and catch the creature when it falls.
- Snag the Heart Turnip off the ceiling using a Taggit, feed it to the underground Croakaoke, and walk through the new tunnel.
- Keep a Taggit equipped while riding the Red Balloon on the far right. Smash the leaves on the right wall to find the flower.
Milde Habitat
- Smash the boxes near the pink pool. Put a Milde on your back, bounce over to the dried flower, and throw your carried Milde into the pool to hydrate it.
- Ride the Mega Milde out of the volcano. Head left to the sticky platform and bounce across the Mildes to the top.
- Activate the black pool on the far right with a Milde. Ground Pound the spawned creatures to launch yourself to the upper right corner.
Peckadee Nest
- Trap a Peckadee inside the giant nut on the right side of the stage and Ground Pound it to crack the shell.
- Feed a Peckadee a Chili and throw it at the boulder blocking the upper left route.
- Fire an egg precisely into the small wall hole.
- Use a Peckadee to climb to the upper right ledge, stop the bird running in the wheel, and use it as a stepping stone.
Floofly & Plumebrella Habitats
- Floofly: Ride the windmill tree propellers up to the clouds holding the flower.
- Floofly: Walk across the three ground level clouds just past the windmill to open a secret room.
- Floofly: Stand on the absolute top of the cloud boat as it squeezes between the stalactites.
- Floofly: Stomp the rain clouds on the boat to water the dry flower near the exit.
- Floofly: Flutter jump off the fish shaped clouds at the very end of the boat ride.
- Plumebrella: Shoot the upper right cave corner to spawn a Winged Cloud, then shoot it again.
- Plumebrella: Glide left over the water hazard.
- Plumebrella: Eat the Golden Plumebrella in the lower cave, throw it as an egg, and ride the tiny gold umbrella upward.
- Plumebrella: Use the Golden Plumebrella to clear the storm clouds in the upper right sector.
Thudd Domain
- Let Thudd spit you at the upper left ceiling opening.
- Have Thudd repeatedly launch you at the rocky corner on the left until the wall breaks.
- Stomp Thudd’s belly button to make it cough up a flower.
- Force Thudd to drink the left pond and spit the water onto the dried flower near its bed.
- Check the small nook directly right of where Thudd was sleeping.
- Drain the right side pond with Thudd, drop into the empty basin, and Ground Pound the secret lower right passage.
- Walk right past the goal portal and have Thudd shoot you into the upper right tree branches.
Chapter 3 Locations
Weewoo Habitat
- Hand the Weewoo its shell and walk it over to the butterflies. Follow them until a Winged Cloud appears and snipe it.
- Grow the sleeping bud near the hidden concert hall with the Weewoo, climb up, and play music for the tiny bird.
- Grow the bud above the concert hall, climb the left pedestal, and play music to heal the wilted flower.
- Grow the shoreline bud and use the leaves to reach the tiny cave above.
Ouchin & Casterway Habitats
- Ouchin: Snipe the sleeping Ouchin above the left side chest on the ship.
- Ouchin: Eat a watermelon, Ground Pound the water near the ship’s bow, and spit a seed at the flower.
- Ouchin: Climb the main mast and shoot the flying cloud.
- Casterway: Fish in the mud puddle on the platform above the cove.
- Casterway: Fish right next to where the giant fish was swimming.
- Casterway: Fish inside the underwater clamshell using the second Casterway.
- Casterway: Shoot the Winged Cloud flying left of the lily pad hut.
If you are running low on the currency needed to unlock hints for these tricky spots, check out our complete Yoshi and the Mysterious Book amiibo and token rewards guide to maximize your daily payouts.
Bafloonder & Snurfboard Habitats
- Bafloonder: Dash through the crate under the starting platform with an inflated Bafloonder and open the shell.
- Bafloonder: Dash through the shipwreck crates on the seabed.
- Bafloonder: Dash through the closing tunnel on the far left side of the ocean.
- Bafloonder: Dash straight up the western waterfall.
- Bafloonder: Dash past the circling Ouchins on the far left side.
- Bafloonder: Feed your creature a chili pepper, dash into the coral near the shipwreck, and drop into the hole.
- Snurfboard: Launch off the shipwreck mast debris.
- Snurfboard: Spin dive onto the sunken chest on the far right.
- Snurfboard: Use the waves to catch massive air on the right side of the mast.
- Snurfboard: Platform up the palm trees to the upper area.
Nep Enut Habitat
- Throw an egg into the tiny hole above the starting pond.
- Feed droplets to the big Nep Enut, climb its head, and jump the shipwreck crates.
- Combine two Nep Enuts in the left mud puddle inside the waterfall cave.
- Use your massive Nep Enut to water the dead flower on the far right rocks.
Chapter 4 Locations
Loopdeecoop & Detonut Habitats
- Loopdeecoop: Smash the giant nut with a Ground Pound.
- Loopdeecoop: Stomp the boxes stacked on the platform.
- Loopdeecoop: Hit the red switch and clear out all the blue symbols with eggs.
- Loopdeecoop: Launch water at the dried flower using the hoop.
- Detonut: Fire an egg up into the hollow tree trunk.
- Detonut: Smash the rock pile covering the Detonuts.
- Detonut: Toss a Detonut at the leaf pile inside the small cave.
Shy Guy Abode & Bugya Habitat
- Shy Guy: Climb the shed and toss a Shy Guy straight up.
- Shy Guy: Ride a Snurfboard into the water tunnel while holding a Shy Guy and jump at the hump.
- Shy Guy: Ground Pound the bottom right box inside the hidden room.
- Bugya: Possess the Bugya with a note fruit and shoot music at the dead flower.
- Bugya: Swim to the end of the underwater section and shoot a seed at the blue fish.
- Bugya: Crack open the large nut.
Little Mouser & Hauger Habitats
- Little Mouser: Jump to the ceiling from the water.
- Little Mouser: Toss a Mouser into the wall crack.
- Little Mouser: Smash the rock to reveal a secret cave.
- Little Mouser: Toss a Mouser into the ceiling gap.
- Little Mouser: Have a Mouser steal a Nep Enut, then throw it at the dead flower in the ditch.
- Little Mouser: Carry a Nep Enut into the small room to heal the flower.
- Hauger: Break the giant nut.
- Hauger: Ride your creature to the tree canopy.
- Hauger: Climb the vine and smash the statue.
- Hauger: Make the Hauger dig straight through the wall.
- Hauger: Ride up the wall and straight into the bush.
Chapter 5 Locations
Behedger & Swirm Habitats
- Behedger: Bait the creature into slicing the jars above the stairs.
- Behedger: Toss the well mouse into the tiny wall hole.
- Behedger: Insert all four keys, then bait the creature into slicing the nut outside.
- Behedger: Bait the Behedger into smashing the stone ruins outside, drop into the hole, and stomp the chest.
- Swirm: Snipe the flower at the waterfall base.
- Swirm: Fly slam the nut on the second waterfall.
- Swirm: Hit the red button, stretch the Swirm, bounce off it, and grab the blue tokens.
- Swirm: Stretch the giant Swirm horizontally and bounce eggs off it to hit the high ledge.
- Swirm: Stretch the Swirm diagonally and Ground Pound its tip to launch an aerial strike on the ceiling rocks.
Stickiwick & Mawstalk Habitats
- Stickiwick: Stick the web ball to the rock ceiling and swing to the middle platform.
- Stickiwick: Stick the edge of the tree root and swing hard into the hidden cave.
- Stickiwick: Swing from the far right cliff platform into the secret area.
- Stickiwick: Stomp while swinging near the upper right webbed box to smash it, then climb the crevice.
- Stickiwick: Pull the red button on the far left, stomp it, and race the timer for the tokens.
- Mawstalk: Feed the giant nut to the creature.
- Mawstalk: Let the creature eat the rock under the nut to open a tunnel, then chase the insect.
- Mawstalk: Feed it a hot pepper, let it eat the leaves to spawn a Winged Cloud, and chase it down.
Slugarang & Wooshwing Habitats
- Slugarang: Hit the leaf patch above the Croakaoke platform to drop a nut, then break it.
- Slugarang: Break the crate near the waterfall, go inside, and throw your creature under the wood platform to fetch the flower.
- Slugarang: Snipe the jumping blue fish at the waterfall base.
- Slugarang: Ride the upper right rain clouds to the top of the center tree.
- Wooshwing: Fly to the ledge above the two yellow Crazee Dayzees.
- Wooshwing: Fly left of the winged clouds near the updraft.
- Wooshwing: Stomp the upper right red button and grab the tokens before time runs out.
- Wooshwing: Eat a hot pepper, blast to the upper right corner, and steal the flower from the yellow butterfly.
Chapter 6 Locations
Goonie & Huffin Puffin Habitats
- Goonie: Stomp a Goonie over the water to grab a clam, then stomp again over the campfire to cook it open.
- Goonie: Ride a Goonie to the upper right opening near the nest.
- Goonie: Climb the house using a Goonie and shoot the flower above you.
- Goonie: Swim right into the submerged house and shoot the flower.
- Huffin Puffin: Bounce a baby bird off the tree walls to reach the top area.
- Huffin Puffin: Fire a baby bird into the river opening where the lily pads spawn.
- Huffin Puffin: Shoot a baby at the screw plant, throw the plant at the boulder, and break the boxes inside.
Jetty Jelly & Lunge Fish Habitats
- Jetty Jelly: Wash the leaf pile left of the start point.
- Jetty Jelly: Fly to the upper right and smash the box.
- Jetty Jelly: Dive to the chest sitting in the middle of the lake.
- Jetty Jelly: Absorb the red clouds and smash the upper right monkey statue.
- Lunge Fish: Let the fish launch you over the trees.
- Lunge Fish: Bounce across the blue fish clouds on the right.
- Lunge Fish: Smash the underwater ruins and check the ground.
- Lunge Fish: Have the fish spit you at the dry cliffside flower.
- Lunge Fish: Launch into the opening on the right side of the center platform.
- Lunge Fish: Dive down and have the fish spit you into the sand hole on the right.
Jam Guy & Bewilder Bird Habitats
- Jam Guy: Tail Flick the guy near the flower, then flick again on the 4th beat.
- Jam Guy: Go to the upper left curtain. Flick to start the music, flick on the 4th beat, and jump when the flower peeks out.
- Jam Guy: Get every Jam Guy playing simultaneously, then stand above the blue drummer to get lifted up.
- Bewilder Bird: Transform into a Jetty Jelly to water the dry flower on the left lake platform.
- Bewilder Bird: Dive into the underwater cavern with the Lunge Fish and break the massive lower right statue.
- Bewilder Bird: Fly above the tree line with a flying creature.
- Bewilder Bird: Grab a watermelon near the boss arena, swim into the lake, and shoot seeds at the underwater cloud.
- Bewilder Bird: Dig under the sand left of the purple wall with the Hauger. Send a Mouser into the southeast crevice.
- Bewilder Bird: Use the Jetty Jelly to climb the waterfall, the Detonut to blast the boulder, and the Hauger to dig through the sand.
The Post Game Grind
Once you wrap up Chapter 6, the game immediately opens up Chapters 7 and 8. These zones hold the final 114 Smiley Flowers.
You will face intense mechanical challenges here. For example, in the Tumball Nest, you need to precisely logroll a creature while tossing apples into tight crevices. The Billeau Habitat forces you to create complex trails of fire to trigger underground explosions. In the Piranha Plant Habitat, you have to feed fireflies to your creature just so it can act as a flashlight in the pitch black tunnels.
The Ultimate Reward
Unlocking Exploration Tools is great for utility, but the real prize for collecting all 260 Smiley Flowers is the All Smiley Flowers Badge. You can pin this cosmetic badge directly to your UI. It proves you survived Kamek, K. Rool, K. Rool’s weird puzzle rooms, and the absolute nightmare of finding that last hidden flower in the Bewilder Bird Habitat.