Hollowbody Guide: Complete Walkthrough to Puzzles, Key Items, and Endings
Master every puzzle, locate every crucial item, and survive the final boss with our definitive start-to-finish Hollowbody walkthrough.
Quick Answer: Escaping the decaying world of Hollowbody requires keen observation and careful resource management. This full walkthrough covers every major puzzle solution, crucial item location, and branching narrative choice so you can reach the credits without getting stuck.
Hollowbody drops you into a hostile, tech-noir nightmare heavily inspired by classic survival horror. You play as Mica, a woman forced to navigate flooded sewers, rotting apartments, and abandoned transit lines. The combat is unforgiving, but the real challenge lies in the environmental puzzles. The game expects you to pay attention to your surroundings, read the lore, and figure things out on your own.
This guide walks you through every major section of the game, highlighting the exact items you need and the solutions to every brain-teaser standing in your way.
Surviving the Prologue and Tower Block
Your journey kicks off on a desolate beach. Your only initial goal is to find a man named Mark. Head back up the path, walk past the tent, and take the second route down toward the water. Keep pushing forward until you pass through a rock cave and stumble into a massive hole. This triggers a cutscene and officially hands control over to you.
Once you reach the streets, look for a trailer. Step inside to grab your first Repair Spray, then use your COTAC radio nearby to pick up the first signal.
Follow the main road until you spot a wrecked mech. Take the path directly across from it, cut through the playground, and push a dumpster under the illuminated open window to climb inside the apartment complex.
Exploring the Second Floor
Head upstairs to the second floor. You need to gather a few specific items to progress:
- Grab the keycard to room 2.3 off a body behind the unmarked door down the hall.
- Drop through the hole in the floor inside room 2.3.
- Pick up the child’s drawing from the bedroom.
- Grab the hammer resting on a family portrait.
Head into the bathroom, rip the radiator off the wall, and use your newly acquired hammer to smash through the plasterboard. Crawl through the gap, snag the portable battery from the corpse, and pull the club out of the nearby door so you have a melee weapon.
Cracking Helen’s Bedroom Safe
You will encounter a locked safe mounted on the wall next to a graduation photo. Finding the code requires piecing together a timeline using three clues scattered around the room.
- A kitchen letter states Helen was born in 2025.
- A bedside photo reveals she celebrated her 30th birthday with a 3-year-old child.
- The graduation picture shows her heavily pregnant.
Doing the math reveals her 30th birthday happened in 2055. Subtract the child’s age, and you get her graduation year. Punch 2052 into the keypad to claim the old key. If you want a deeper dive into the mechanics of this specific puzzle, check out our dedicated Room 13 safe puzzle guide.
Use the old key on the corridor gate, head downstairs, and smash the Staff Only box with your hammer to get the ground floor gate key and a card writer. Combine your room 2.3 key with the card writer in your inventory to forge a Master Key.
Restoring Power to the Elevator
To power up the elevator, you need a replacement switch. Head to the apartment with the guitar, walk into the kitchen, and grab the chopsticks. While you are there, steal the alcohol from the bathroom distillery. Pour the booze on the trash pile in the hallway and ignite it with your lighter. The resulting fire triggers the sprinklers, unlocking the path forward.
Use your hammer on the cheap padlock inside the bedroom locker to reveal the electricity meter. Stick the chopsticks into the meter to replace the missing switch.
You need to match the switch pattern found on a nearby note:
| Row Position | Left Switch | Right Switch |
| Top | Down | Down |
| Middle | Up | Up |
| Bottom | Down | Up |
Hit the square button to fire up the elevator and ride it to the roof.
The Rooftop Encounter and Ending Choices
You will find a man standing dangerously close to the rooftop ledge. The conversation that follows permanently dictates which ending you receive.
- Reunion Ending: Answer your radio when it rings during the dialogue.
- Riven Ending: Ignore the radio entirely and successfully talk the man down.
Once the scene wraps up, read the note near the tent to discover the code 8053. Take the elevator back down and use those digits on the double-door keypad.
Navigating the Park and Residential Area
Exit into the streets, take a left, then a right, and pass through the red gate. Grab the quiver of arrows from the opening on your right, then squeeze through the busted door shutter ahead.
Save your game at the phone box. Take the right path, go left at the crossroads, and loot the wooden bow from the body near the fountain. Combine the bow and quiver in your inventory. Take the other branching path to find a body with a heart-shaped lock on its chest. Steal the wallet from the floor, inspect it, and take the digilock key for house 21.
The Camcorder Puzzle
Enter house 21 using your digilock key. Interacting with the TV monitor triggers a boss fight, so have your weapons ready. Once the creature is dead, snatch the camcorder from the desk.
Head upstairs, find the tripod, and mount the camcorder to it. Look through the lens to spot an open door at the house across the street. Head over there immediately.
Inside the second house, head upstairs to grab a makeshift axe from a corpse and a coathanger from the wardrobe. Snag the yo-yo from the adjacent desk and combine it with the coathanger to craft a hook. Run back downstairs, use the hook to drain the bathtub, and collect the heart-shaped key.
Church Candles and the Sewer Maze
Use your new key to unlock the park gate, cut across the graveyard, and enter the church.
You will spot a table holding ten named candles. Step back outside into the graveyard and memorize the names on the five illuminated headstones. Return to the table and light those exact five candles. This puzzle randomizes on every playthrough, so you must manually check the graves.
Lighting the correct candles opens a hidden crypt. Grab the Repair Spray inside and crawl through the wall hole into the sewers.
Your goal down here is to locate four hearts scattered across four distinct tunnels. Follow the blood trails and systematically clear each branch. Once you have all four, place them into the hands of the strange altar. The path will open, leading you up a ladder and back to the surface.
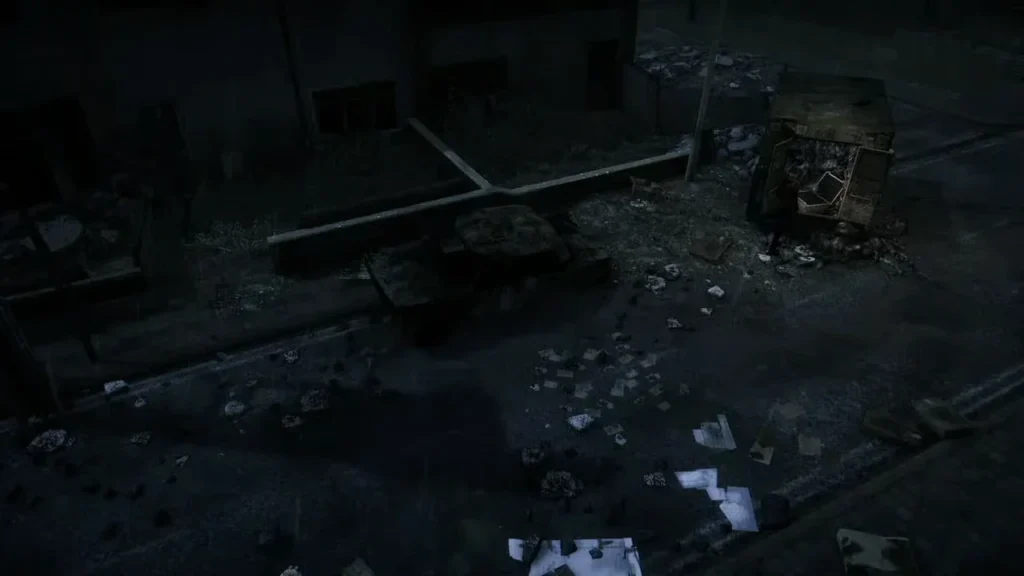
Escaping the Streets and Train Station
Save at the phone box near the ambulance. Climb through the alleyway window, grab the scissors out of the toaster, and flip the fuse box switch. The room will catch fire, so vault back out immediately.
Head into the Star shop, grab the fuses, and fix the box behind the No Entry door to raise the shutter. Follow the street until you hit a barricade with a hand scanner. Backtrack to a nearby corpse, amputate its hand using your scissors, and use the severed limb to bypass the scanner.
The Final Boss Fight
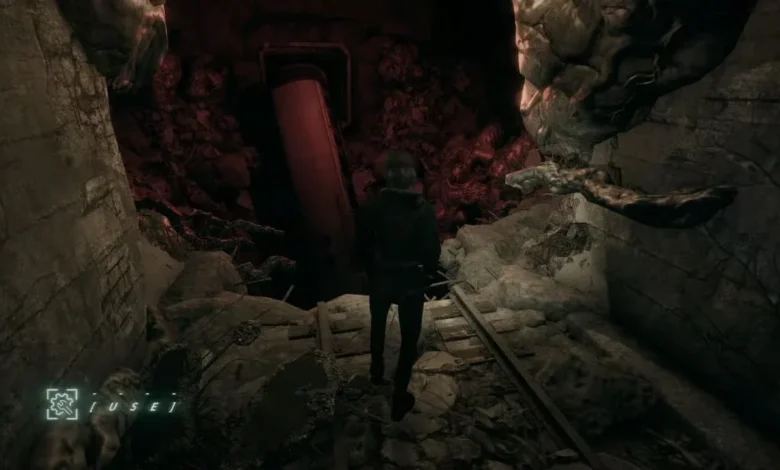
Head down into the train station. Grab the plastic explosive from the corpse in the glowing red corridor and blow up the brick wall blocking the other tunnel.
Head into the restroom, flip over the corpse in the cubicle, and pry the gold coins from its eyes. Feed the coins into the ticket machine, grab your pass, and unlock the turnstile.
Jump onto the tracks, climb down the massive hole, and snag the detonator from the body pinned to the wall. At this point, a massive monster will begin chasing you. Sprint back down the tunnel until you reach a cluster of explosive canisters. Wait until the beast is directly beside them, then hit the detonator. Repeat this process four times to completely obliterate the creature.
Crawl through the hole near where you found the detonator, watch the final cutscene, and answer the ringing phone to complete the game.