Outbound Guide: How to Fix the Coastal Lighthouse
Master the Coastal Lighthouse Puzzle and Claim Your New Blueprint

Quick Answer: To fix the lighthouse, you must first repair the bridge using 10 Redwood Planks. Once inside, use the control panels to lower the broken bulb down to the ground floor workbench, repair it using 3 Electronics, and hoist it back to the roof. Hit the rotation switch and gather the three hidden override components to secure your blueprint!
Every biome in Outbound features one major landmark that makes you work a little harder for your rewards. When you reach the coastal region, that challenge is the abandoned lighthouse. You cannot just walk up, hack a terminal, and walk away with a new schematic. The main light bulb is completely busted, and fixing it requires a multi-step puzzle that involves moving massive machinery between floors.
If you show up unprepared, you will waste a ton of time running back and forth to your camper van. Here is exactly how to complete the lighthouse puzzle in a single trip.
Gathering Your Repair Materials
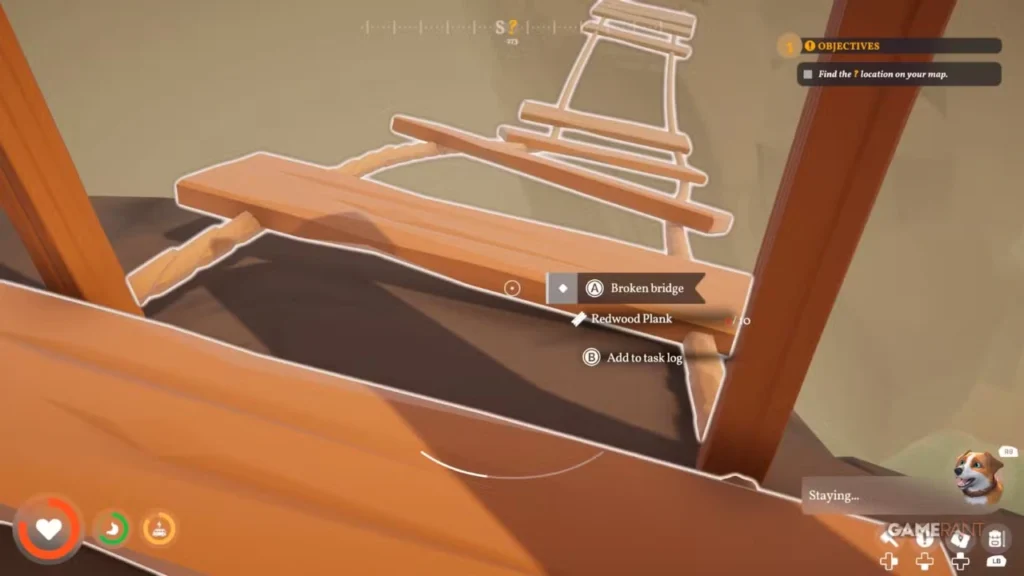
Before you even worry about the bulb, you have to actually reach the island. The lighthouse sits off the northwest coast, and the bridge connecting it to the mainland is destroyed. You must rebuild this structure first.
To save yourself from tedious backtracking, make sure your inventory is fully stocked before you leave your van.
Here is the exact packing list for the entire lighthouse mission:
| Required Item | Raw Materials Needed | Crafting Station | Purpose |
| 10 Redwood Planks | 20 Redwood Logs | Sawmill | Rebuilding the island bridge. |
| 3 Electronics | 12 Scrap Metal | Assembler | Repairing the broken bulb. |
Note: Your 3 Electronics require 3 Bolts and 3 Sheet Metal, which will consume a total of 12 Scrap Metal.
If you are struggling to keep your van stocked with advanced resources for all these upgrades, take a quick detour and check out our clay farming guide to get your resource bins overflowing again.
Solving the Bulb Puzzle
Once you lay down the Redwood Planks and cross the bridge, climb the exterior stairs wrapping all the way up to the roof. You will spot the massive, broken light bulb hanging above you and a control panel off to the right.
Moving the Bulb Downwards
You cannot fix the bulb while it is suspended in the air. You have to lower it all the way down to the bottom floor.
- Interact with the lever situated above the downward arrow on the top floor control panel. This drops the bulb to the middle level.
- Walk down to the middle floor and use the exact same downward lever to drop it to the ground floor.
- Head down to the ground floor. Use the left lever on this final control panel to slide the bulb over to the nearby workbench.
Applying the Fix
Walk up to the ground floor workbench. Because you already crafted your 3 Electronics back at your van, you can instantly deposit them to repair the shattered glass and wiring.
Now you just need to reverse the process. Go back to the ground floor control panel. Pull the right lever to center the bulb, then pull the middle lever to hoist it up a floor. Climb to the middle floor, pull the ‘up’ lever, and then do the exact same thing on the top floor to lock the bulb back into its final housing. Finally, yank the lever marked with rotating arrows to get the beacon spinning again.
Claiming Your Blueprint
Fixing the light is only half the battle. You still want that schematic! You need to locate three specific override items to unlock the main terminal.
Here is where they are hiding:
- Password Databank: Lying on the ground right next to the top floor control panel.
- Terminal Executable: Tucked away behind some boxes on the left side of the middle floor.
- Signal Decryptor: Sitting outside on the picnic table near the base of the lighthouse.
Once you have all three pieces, slice into the terminal and claim your hard-earned reward.
If you want to master every aspect of your campervan adventure, be sure to check out all of our other guides at Novus Vektra.