Star Fox Switch 2 Guide: Mastering the Lylat System
Stop crashing your Arwing and start dominating the Lylat System with these essential survival tactics and hidden route unlocks.
Quick Answer: Keeping your Arwing intact means prioritizing your brakes over flashy barrel rolls, dropping everything to save your fragile wingmen, and avoiding Easy mode entirely if you want to unlock the game’s best progression rewards.
Jumping into the pilot seat feels incredible right up until you accidentally veer into a brutal alternate route and get blown to pieces. The newest entry in the franchise throws you straight into the fire, and honestly, the in-game tutorials completely gloss over the mechanics that actually keep you alive.
Whether you are struggling to keep your squad breathing or just trying to survive the branching paths to Venom, I have put together a breakdown of the hidden strategies you need to master.
Arwing Combat Tactics That Actually Work
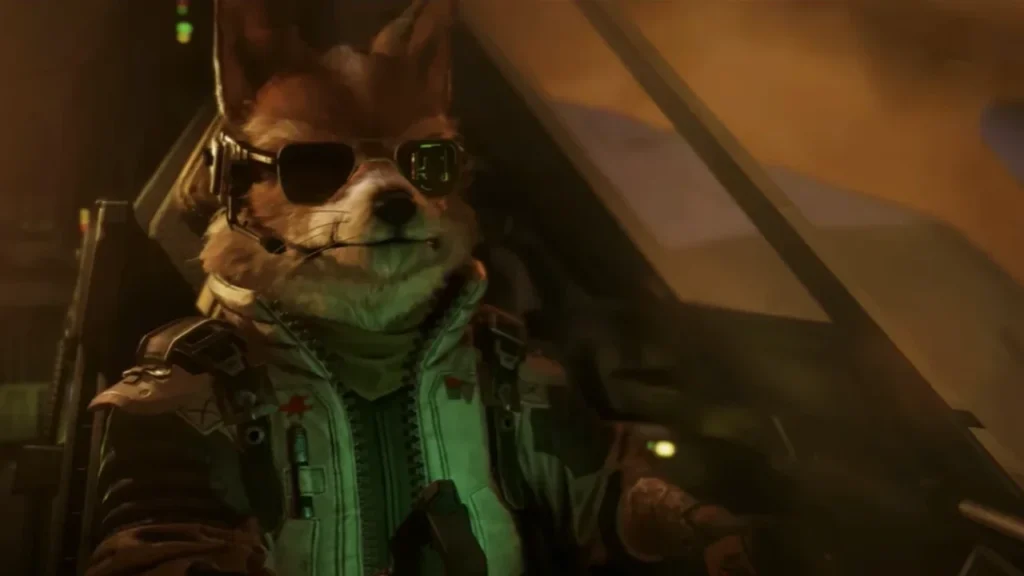
Blasting alien ships is a blast, but you need absolute control over your mobility to dominate the leaderboards and unlock meaningful content. You will spend most of your time in the Arwing, with occasional stints in the Landmaster or Blue Marine.
Deceleration Over Flashy Flips
The game pushes somersaults and U-turns heavily. While those maneuvers look cool, hitting your brakes is vastly superior in tight situations. Slowing your ship sharply tightens your turning radius, allowing you to easily track slippery targets or weave through massive obstacles.
Also, a quick reality check on the barrel roll: double-tapping the shoulder buttons deflects incoming fire beautifully, but it does not grant invincibility. If you spin directly into a rock face or a boss, you are taking catastrophic collision damage.
Exploiting Explosives and Charged Lasers
Do not just hold down the fire button and hope for the best. When facing a massive squadron, charge your laser and lock onto the ship dead in the center of the formation. The resulting blast triggers splash damage that can vaporize the entire squad in one hit.
Your Smart Bombs harbor a secret mechanic as well. You can manually detonate them in mid-air by pressing the bomb button a second time. This is a total lifesaver when you fire blindly and need an immediate explosion to catch enemies before they scatter out of range.
The Pro Controller Advantage
Chasing high numbers will absolutely destroy your thumb. If you own a Switch 2 Pro Controller, pause the game, pull up the console’s home screen, and map your two rear paddle buttons to the primary fire action. Now you can cycle three different fingers to shoot, effectively giving your ship a devastating rapid-fire upgrade.
Babysitting Your Squad
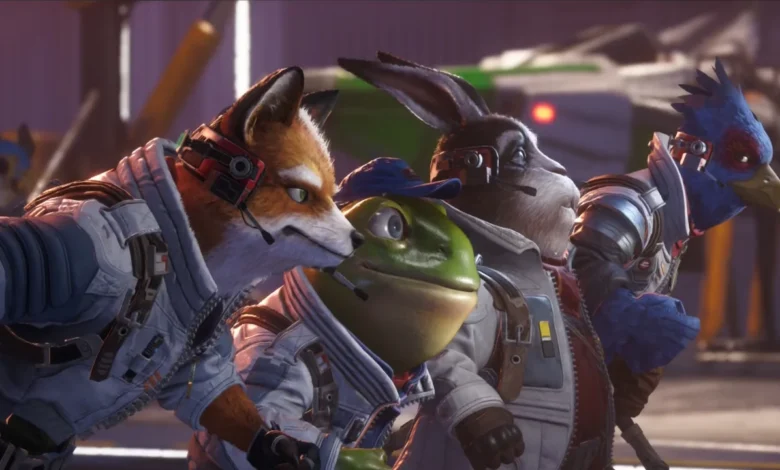
Let us get one thing straight: Peppy, Falco, and Slippy are completely helpless. They cannot win a dogfight on their own, and keeping them alive is your actual primary objective.
Whenever you hear a distress call, abandon whatever you are doing and blast the bogeys off your teammate’s tail. If a wingman goes down, they retreat and skip your next mission. This creates a massive snowball effect. Without wingmen to draw aggro, the enemy AI targets you exclusively. Dogfight-heavy zones become an absolute nightmare.
Plus, route progression is directly tied to your squad. Want to unlock the path to Sector Y from Corneria? Falco has to survive the level.
Scavenging for Survival
Destroying enemy fighters is great, but you should also be blasting apart asteroids, turrets, and random space debris. Every single target you destroy pads your hit count, and that directly dictates how much health your squad recovers between stages.
Taking down targets also drops vital loot. Grab these as fast as possible to build a buffer for the punishing late-game stages.
| Item | What It Does | Does It Carry Over? |
| Laser Upgrade | Upgrades your twin blasters, followed by the blue beam. | Yes, assuming you don’t take wing damage. |
| Smart Bomb | Adds another explosive to your stash. | Yes, all unused bombs move to the next stage. |
| Silver Ring | Heals a chunk of your shield. | No, consumed immediately. |
| Gold Ring | Three doubles your shield capacity. Six grants an extra life. | No, the expanded health bar resets next level. |
| Star Ring | Instantly maxes out your shield health. | No, consumed immediately. |
| Wing Repair | Fixes a broken wing. Overrides the laser drop if you are damaged. | No, consumed immediately. |
Do Not Ignore R.O.B.
Occasionally, a prompt will flash on your screen signaling an incoming transmission. Accept it immediately. It is always R.O.B., and he is either dropping a care package full of the items listed above or providing heavy cover fire. The prompt vanishes quickly, and missing it leaves you completely on your own.
Forging Your Path
Your campaign kicks off at Corneria on the bottom left of the Lylat map. From there, your in-game performance decides where you go next.
The galaxy essentially splits into three difficulty lanes. Taking the highest routes guarantees a brutal challenge. Beating the final boss is just the beginning of the experience. While looking at the map screen, you can highlight a planet and press X to reveal the exact hidden criteria required to crack open alternate routes. Messed up an objective? You can retry the stage right from the map, but it will cost you a life.
Choosing Your Difficulty
It is tempting to pick Easy mode just to see the credits, but doing so strips away the core progression system. You cannot earn medals on Easy. Here is how the rules change across the board:
- Easy: Enemies deal reduced damage. You kick off the run with fully upgraded lasers and max shields. You cannot break your wings by crashing, and downed wingmen instantly return for the next stage. You have infinite continues, but the game locks you out of earning any medals.
- Normal: Damage values are balanced. You start with standard lasers. Crashing into objects breaks your wings and strips your laser upgrades. Downed wingmen sit out for one full mission. You have infinite continues and can earn standard medals.
- Expert: Enemies hit incredibly hard. Any collision instantly destroys a wing. Wingmen flee fights faster and skip the next mission if shot down. You can earn Expert-tier medals, but you get zero continues. Lose your lives, and your run is permanently over.