The Guardian of Nature Guide: All Chapter 3 Flower Card Locations
A Complete Walkthrough for Tracking Down Every Hidden Flower Card in the Third Chapter
Quick Answer: You need to track down eight flower cards to 100% this chapter. The first five can be grabbed in any order without special items, but you will need your pickaxe and story progression to reach the final three hidden on the eastern side of the map.
The Free-Roam Cards
You can relax a bit when you first load into Chapter 3. The first five cards scattered across the map aren’t locked behind any complicated puzzles or specific item requirements. You can wander around and scoop them up in whatever order feels natural to your playthrough.
Here is a quick reference table for the first batch:
| Card | General Area | Exact Spot |
| One | Starting Zone | Hidden in the tree covered entirely in green flowers. |
| Two | Map Center | Inside the house, right next to the sleeping giant. |
| Three | Far Left Edge | Stuck to a house wall decorated with white flowers. |
| Four | Map Center | Lying out in the open near the elevator contraption. |
| Five | The Tunnels | Hidden in the dark as you head right; hover your cursor to spot it. |
Hunting Down the First Five
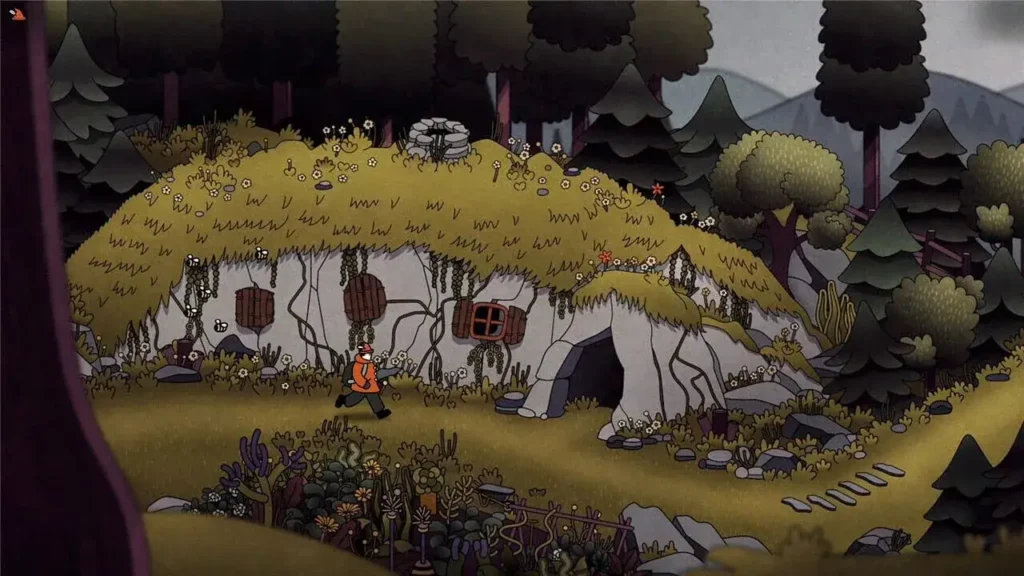
Right as you step into the chapter, check the nearby tree blooming with green flowers to snag your first card. From there, head toward the center of the zone. You will spot a house sheltering a massive sleeping giant. Sneak inside and grab the second card resting nearby.
While you are in the central area, swing by the large elevator structure to pick up the fourth card. The third one requires a bit of a trek to the far left boundary of the map. Look for a house with white flowers growing on the wall.
The fifth card trips up a lot of players. As you make your way toward the right side of the map through the underground tunnels, the lighting gets tricky. Sweep your mouse cursor all over the screen in this tunnel section until the prompt highlights the hidden card.
The Progression-Locked Cards
Once you push past the tunnel section, the map opens up on the far right edge. This is where the final three cards are hiding, and you actually have to put in a little work to get them.
- Card Six: Immediately after exiting the tunnels on the right side of the map, look for a house sitting dangerously close to a massive power generator. Pop inside to claim your prize.
- Card Seven: Grab your pickaxe. Explore the right edge of the map until you find a house with a suspiciously thick bush blocking a wall. Smash that foliage with your pickaxe to reveal a secret room containing the seventh card.
- Card Eight: Don’t rush the finale. Right at the very end of the episode, you will reach the imposing radio communication tower. Before you actually step inside to trigger the ending sequence, look around the entranceway to find the final collectible.