R.E.P.O Guide: Mastering Every Weapon, Tool, and Gadget
Stop Wasting Your Cash: The Ultimate Loadout Breakdown for Surviving the Late-Game Grind
Quick Answer: Don’t waste your starting cash on gag items. Prioritize utility gear like the Defibro for solo survival, grab a pocket C.A.R.T. for efficient hauling, and lean heavily into stun weapons like the Prodzap or Tranq Gun until you can afford high-tier lethal firearms.
Extracting successfully in Repo takes a lot more than just quick reflexes. Once you hit the mid-to-late game, the monster spawns get ridiculous. The Service Shop is your best friend, offering an absolute mountain of gear to help you fight, survive, and carry more loot back to the ship. Every single piece of equipment runs on battery power, meaning you have to juggle your charges and hit up the recharge station on your truck when things run dry.
To help you stop wasting your money on gear that will get you killed, I have completely deconstructed the armory. Here is everything you need to know about optimizing your loadout.
The Muscle: Lethal and Non-Lethal Combat Gear
When the monsters close in, you need to hit back. You can choose between getting up close with a physical weapon or keeping your distance with a firearm. Melee is straightforward—just swing your mouse. Guns require a bit more aim but keep you safely out of biting range.
Close Quarters Melee
| Weapon | Cost Bracket | Field Notes |
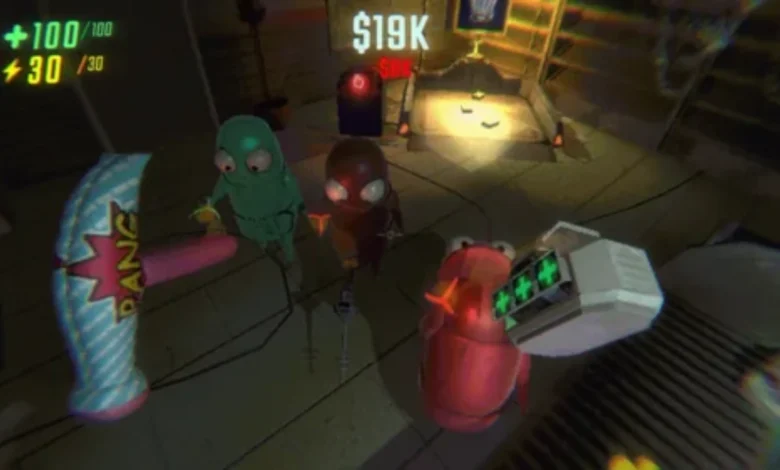
| Inflatable Hammer | $9K to $12K | A complete joke. Only whip this out against the weakest mobs like Bangers or Gnomes if you absolutely have nothing else. |
| Frying Pan | $23K to $30K | The perfect mid-tier bludgeon. Highly effective for cracking smaller threats like Upscreams over the head. |
| Baseball Bat | $25K+ | A massive step up from the hammer. Learn the swing rhythm, stun your target, and this will keep you alive. |
| Prodzap | $22K to $30K | Essential for hit-and-run players. It shocks and freezes the target for three seconds while doing chip damage. |
| Sword | $29K+ | Lethal, but risky. If you accidentally smash it against a wall or the floor, the physics recoil can throw you flat on your back. |
| Sledge Hammer | $42K to $48K | Your heavy hitter. It swings slow, but it absolutely crushes whatever is standing in front of you. |

Ranged Firearms
| Firearm | Cost Bracket | Field Notes |
| Pulse Pistol | $14K to $18K | Don’t use this for raw damage. Use the massive knockback to launch aggressive enemies right off the map into deep pits. |
| Boltzap | $14K to $18K | The ranged brother of the Prodzap. It fires a projectile that stuns for a second and a half. |
| Tranq Gun | $15K to $18K | A pure survival tool. Knock a monster out from across the room and use the window to run away. |
| Photon Blaster | $38K to $48K | An absolute laser beam that shreds through heavy targets like the Robe, dealing rapid-fire damage up to 270 points. |
| Gun | $46K+ | Your standard, reliable sidearm. Point, shoot, kill. |
| Shotgun | $85K+ | The ultimate equalizer. It costs a fortune, but it turns you into the apex predator of the facility. |
Note: You can also mount the heavy-duty C.A.R.T. Cannon or C.A.R.T. Laser ($38K to $48K) onto your hauling carts to create mobile turrets. These are incredibly expensive but provide devastating mobile firepower.
The Trapper: Crowd Control and Explosives
Explosives are incredibly cheap, making them the ultimate crutch for your early extractions. Mines trigger when stepped on, and grenades activate once you pull the pin with the interact key. Just remember that you are not immune to your own explosions.
- Secret Shop Specials: The $2K Human Grenade and the chaotic Duct Tape Grenade (a cluster of human grenades) are exclusive to the hidden shop room and deal massive burst damage.
- Stun Tech: Both the Stun Grenade and Stun Mine (starting at $3K) are mandatory for freezing aggressive threats. The mine lingers, dealing shock damage over ten seconds.
- Physics Manipulators: Toss a Shockwave Grenade ($3K+) to violently launch enemies away, or deploy a Trapzap Mine ($3K+) to trigger a massive, staggering pulse.
- Standard Explosives: The regular Grenade and Explosive Mine ($3K+) offer cheap, reliable damage for clearing out patrol paths.
- The Wildcard: The Rubber Duck ($17K to $18K) bounces around the room with zero predictability. It hurts and stuns, but it is way too chaotic to rely on during a real crisis.
The Transporter: Hauling Tech and Vehicles
You can’t get rich if you can’t carry the loot. Navigation and hauling gear are what actually get your payload to the extraction zone intact.
Storage and Tracking Solutions
| Utility Item | Cost Bracket | Field Notes |
| Extraction Tracker | $6K to $9K | A lifesaver. This handheld monitor gives you a direct compass arrow and distance readout to your escape point. |
| Valuable Tracker | $16K to $17K | Points you directly toward the highest-tier unlooted items remaining on the map. |
| Pocket C.A.R.T. | $17K to $18K | Folds up directly into your inventory. You have to unload it completely before you can put it back in your pocket. |
| C.A.R.T. | $40K to $46K | The big boy. Mandatory for late-game runs where you are moving mountains of scrap, but watch its durability gauge. |
Getting Behind the Wheel
Vehicles completely broke the meta when the Cosmetics Update dropped. The map traversal is now incredibly fast, provided you know how to drive. The nimble Scouter ($18K to $20K) is built for speed and exploration, while the Hauler ($38K to $48K) is a tank that stores up to 20K of small loot and carries a Semibot. If you want the full breakdown on how to drift around these maps without destroying your hard-earned loot, check out our guide on mastering the new semiscooters and vehicle mechanics.
The Trickster: Magic, Drones, and Weird Science
Sometimes bullets and bombs just aren’t enough. The shop offers bizarre utility items that let you manipulate gravity, heal yourself, and cast literal magic.
Aerial Support Drones
Lock these onto yourself, heavy objects, or enemies to completely alter the game’s physics.
- Recharge Drone ($4K to $5K): Fills up the battery life of your other gear while you are miles away from the ship.
- Roll Drone ($9K to $12K): Forces you to roll infinitely without draining your stamina. Fantastic for rapid escapes.
- Feather Drone ($15K to $16K): Deletes your physical weight. Apply this to massive loot drops to carry them like paper, or use it on yourself to jump massive gaps.
- Zero Gravity Drone ($24K to $29K): Gives you a slow, floating moon-jump.
- Indestructible Drone ($26K to $27K): Slap this on a fragile, high-value item so it doesn’t shatter on the way back, or use it on yourself for temporary invincibility.
Staffs and Field Gear
Charge up a staff by holding it above your head, or deploy specialized gear to survive the impossible.
- Zero Gravity Tech: Use the Zero Gravity Staff ($14K to $18K) to blast a floating zone, or throw the Zero Gravity Orb ($41K to $48K) like a grenade to trap enemies in a floating bubble.
- Void Staff ($22K to $30K): Creates a terrifying black hole that sucks in objects, enemies, and your own bots.
- Roll Staff ($22K to $30K): Shoot an enemy with this to force them to aggressively roll away from your position.
- Phase Bridge ($18K to $20K): Spawns a temporary floor to let you walk right over lethal drops.
- Leaf Blower ($8K to $12K): Pushes threats back. Great for bullying monsters off ledges.
- Defibro ($38K to $48K): The most important item for solo divers. It picks you right back up after a fatal hit.
- Field Supplies: Grab Crystals ($5K to $24K) to instantly juice up dead batteries mid-run, or drop Semibot Walkies ($22K to $30K) to listen in on dangerous rooms before entering.
- Duck Bucket ($5K to $8K): Shove this onto the Apex Predator’s head to ruin its vision. It’s hilarious and highly effective.
Level up your gameplay and browse all of our expert game guides here.