Subnautica 2 Guide: The Ultimate Early Game Progression Path
The Ultimate Step-by-Step Walkthrough for Your First Few Hours on Proteus
Quick Answer: Stop swimming aimlessly. To survive your first few hours on Proteus, prioritize harvesting Water Slugs for hydration, crafting a Scanner and Multitool immediately, unlocking the Digestion Adaptation to eat local fish, and tracking down Habitat Builder fragments to establish your first base.
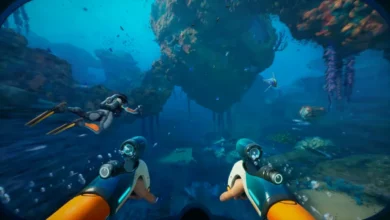
Getting dropped into the ocean of Subnautica 2 is terrifying. The game gives you practically zero direction, a rapidly depleting oxygen bar, and an ocean full of things that either want to eat you or poison you. If you just swim around grabbing random rocks, you are going to stall out fast.
You need a plan. Instead of flailing around in the shallows, follow this optimized, step-by-step progression path for your first few expeditions.
Dive 1: Hydration and the Multitool
Your absolute first priority is managing your thirst and getting a basic tool in your hands.
- Grab Water Slugs: Look around the ocean floor near your Lifepod for small, translucent blue creatures. Snatch a few of these and run them through the Sustenance menu on your Fabricator. Instant clean water.
- Craft the Survival Multitool: Pick up any loose Titanium you see on the seabed. Once you have three pieces, head back and craft the Multitool. You will absolutely need this for your next trip.
- Build an Air Bladder (Optional but Recommended): If you spot glowing orange orbs called Lucifer Rotsacs, grab them. Turn two into Rubber, mix with Titanium, and you have an Air Bladder. This is a brilliant panic button that instantly restores 25 oxygen and shoots you to the surface in an emergency.
Dive 2: Unlocking the Scanner
You cannot progress in this game without a Scanner. It unlocks almost every blueprint, facility, and vehicle in the game. Do not delay crafting this.
You need Titanium, Quartz, and a Basic Battery. Here is the fastest way to gather those components without wandering too far:
- The Sinkhole: Swim into the crater directly beneath your Lifepod. Grab Titanium off the floor and Copper from the walls. Equip your new Multitool and hack away at the purple and green plants to harvest Acidic Raion Pouches.
- The Coral Domes: Swim to the nearest orange, rock-like dome sticking out of the water. Head inside to mine Quartz off the walls.
Craft your Basic Battery using the Copper and Pouches, combine it with your Quartz and Titanium, and equip your new Scanner immediately. From this point forward, scan literally everything you see.
Dive 3: Curing Starvation and Expanding Your Lungs
At this point, you are probably getting hungry, but eating the native fish will make you violently ill thanks to your character’s “Digestive Incompatibility.”
If you are struggling with the sheer amount of survival meters the game throws at you right now, take a quick detour and read our Subnautica 2 Guide: Essential Beginner Tips and Tricks before pushing into deeper waters.
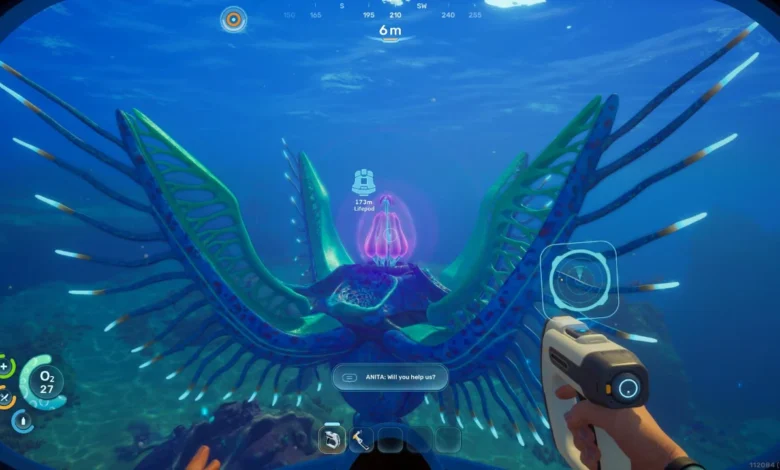
To fix your stomach, swim exactly 158 meters Northeast of your Lifepod. You are looking for a massive pink plant called an Angel Comb. Interact with it to unlock the Digestion Adaptation. Congratulations, you can now cook and eat local fish safely.
While you are out, start gathering materials for your Standard Air Tank (+30 Oxygen) and Fins (Movement Speed).
| Upgrade Material | Where to Find It Quickly |
| Rubber | Fabricated from Lucifer Rotsacs (orange orbs near the Lifepod). |
| Fiber | Fabricated from Fibrous Pulp. Use your Multitool on the Rotsac plants to harvest the pulp. |
| Silver | The first major bottleneck. Swim 290 to 350 meters North of the Lifepod. Look inside shallow caves sitting at roughly 35 meters deep. |
Dive 4: Securing the Habitat Builder and Flashlight
Your Lifepod is a great starter home, but its Fabricator is severely limited. To build advanced gear like the Sonic Resonator, you need a real base. That means you need a Habitat Builder.
You have to scan broken fragments of tools in the wild before you can craft them yourself. Both the Habitat Builder and the Flashlight require two scans each.
Here are the exact coordinates for easy early-game fragments:
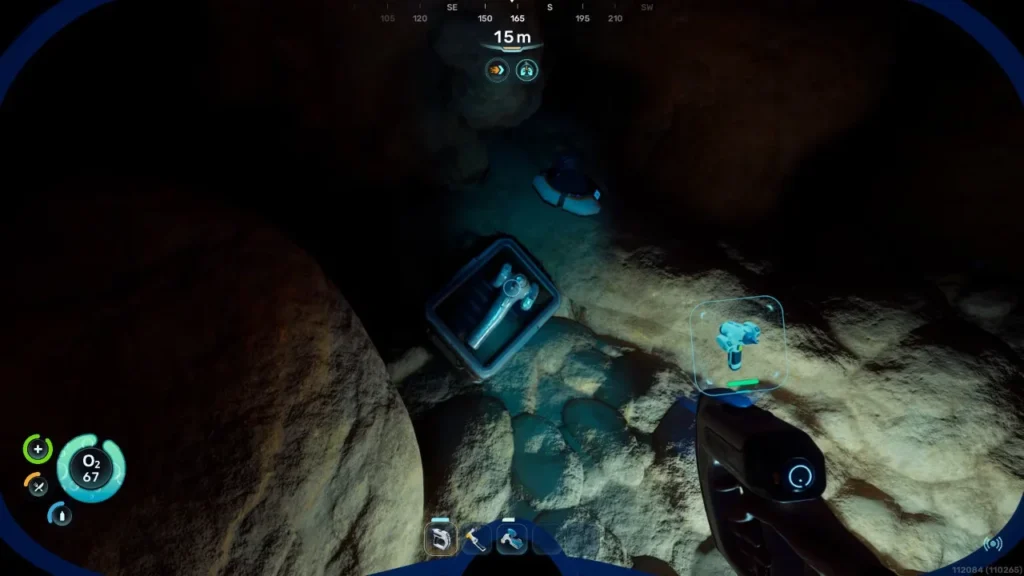
Flashlight Fragments:
- Check the Coral Dome sitting about 30 meters East of your Lifepod. Swim down 11 meters to find a fragment in an open container.
- Check the very bottom of the sinkhole directly beneath your Lifepod.
Habitat Builder Fragments:
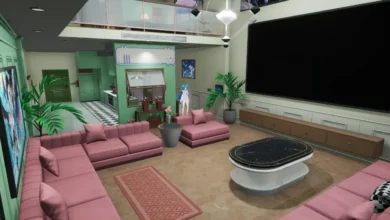
- Swim 85 meters Southeast to the Welcome Center structure. Head inside and swim down through a hole in the floor to find the first piece.
- Swim 164 meters Northeast (right near the Angel Comb). The second fragment is sitting on a platform at a depth of 19 meters.
The Next Step: Establish Your Base
With your Habitat Builder unlocked and an upgraded oxygen tank strapped to your back, you are officially out of the tutorial phase.
Your next goal is to construct a simple multipurpose room, slap a hatch on it, and build a fully functional Fabricator inside. This unlocks the rest of the game’s crafting tree and sets you up to conquer the deeper, darker biomes of Proteus.