Outbound Guide: How to Increase Carry Capacity
Maximize Your Inventory Space and Camper Van Storage in Outbound
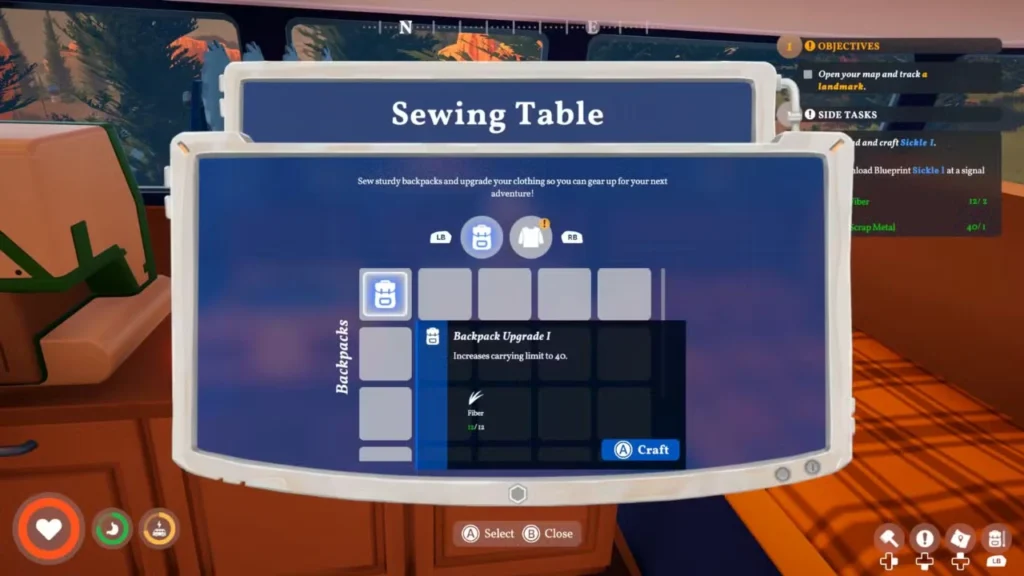
Quick Answer: Build a Sewing Table using 5 Fiber to automatically unlock the Backpack Upgrade 1 recipe. Crafting this first upgrade requires 12 Fiber and immediately doubles your inventory space from 20 to 40 slots. Don’t forget to offload excess materials into your camper van’s exterior storage flap!
Outbound is a game built heavily around exploring the wild and scooping up every loose piece of material you can find. Since building upgrades and conquering nature requires constant gathering, your starter pockets are going to fill up incredibly fast.
Running out of inventory space while you are miles away from your camper is a massive headache. Here is exactly how to upgrade your backpack and manage your item storage so you never have to leave valuable loot behind.
Crafting Your Backpack Upgrades
To expand your carrying limit, you need to step into the world of tailoring. Your first major goal is to unlock the Sewing Table. You can grab this blueprint by interacting with computer terminals found at various landmarks or by downloading it directly from a signal tower.
Once the Sewing Table is placed inside your RV, the game automatically grants you the recipe for the first backpack tier. You will need to hunt down the slim, orange and brown plants scattered around the open world to gather the necessary materials.
Here is a quick breakdown of your first crafting goals:
| Item Name | Crafting Cost | What It Does |
| Sewing Table | 5 Fiber | Acts as the main workstation for backpack and clothing upgrades. |
| Backpack Upgrade 1 | 12 Fiber | Bumps your personal carrying limit from 20 slots to 40 slots. |
To push your carrying capacity even further, you just need to keep exploring. Higher-tier backpack blueprints are scattered throughout the world at later landmarks and signal towers.
As a quick bonus tip, the Sewing Table is not just for bags. Tab over to the clothing menu to craft gear that permanently increases your max health and stamina, though these require advanced materials like Thread and Rough Stuffing.
Maximizing Your Camper Van Storage
Upgrading your backpack is only half the battle. If you are aggressively stockpiling ingredients after reading our food and hunger management guide, your pockets will still fill up quickly. You absolutely must take advantage of your vehicle’s built-in storage.
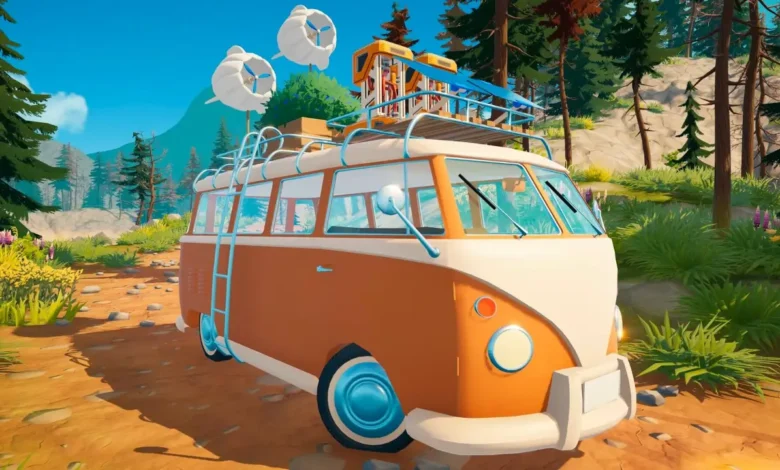
Your camper van has a dedicated deposit box, but it is actually quite easy to miss. Walk around to the exterior of your van and look for a small flap located right below the rear window, directly next to the side door.
How to Lock Important Items
Interacting with this storage flap is a massive time saver, but it comes with a catch. Pressing the deposit button instantly dumps your entire inventory into the van’s storage.
If you want to keep specific tools or snacks on your character, you need to lock them first. Here is how to secure your gear:
- Open your backpack inventory.
- Select the item you want to keep.
- Mouse and Keyboard: Click the small padlock icon in the top right corner of the item’s description box.
- Controller: Press the X button on an Xbox pad or the Square button on a PlayStation pad.
Locked items stay safely in your pockets, while all your excess junk gets neatly filed away in your camper.
If you want to master every aspect of your campervan adventure, be sure to check out all of our other guides at Novus Vektra.